Creating an interactive website
In this series of tutorials, we'll show you how to create a simple blog application in Ktor:
In the first tutorial, we showed how to host static content like images and HTML pages.
In this tutorial, we'll make our application interactive using the FreeMarker template engine.
Finally, we'll add persistence to our website using the Exposed framework.
Adjust FreeMarker configuration
The Ktor plugin for IntelliJ IDEA already generated code for the FreeMarker plugin in the plugins/Templating.kt file:
The templateLoader setting tells our application that FreeMarker templates will be located in the templates directory. Let's also add the outputFormat as follows:
The outputFormat setting helps convert control characters provided by the user to their corresponding HTML entities. This ensures that when one of our journal entries contains a String like <b>Hello</b>, it is actually printed as <b>Hello</b>, not Hello. This so-called escaping is an essential step in preventing XSS attacks.
Create a model
First, we need to create a model describing an article in our journal application. Create a models package inside com.example, add the Article.kt file inside the created package, and insert the following code:
An article has three attributes: id, title, and body. The title and body attributes can be specified directly while a unique id is generated automatically using AtomicInteger - a thread-safe data structure that ensures that two articles will never receive the same ID.
Inside Article.kt, let's create a mutable list for storing articles and add the first entry:
Define routes
Now we are ready to define routes for our journal. Open the com/example/plugins/Routing.kt file and add the following code inside configureRouting:
This code works as follows:
The
get("/")handler redirects allGETrequests made to the/path to/articles.The
route("articles")handler is used to group routes related to various actions: showing a list of articles, adding a new article, and so on. For example, a nestedgetfunction without a parameter responds toGETrequests made to the/articlespath, whileget("new")responds toGETrequests to/articles/new.
Show a list of articles
First, let's see how to show all articles when a user opens the /articles URL path.
Serve the templated content
Open com/example/plugins/Routing.kt and add the following code to the get handler:
The call.respond function accepts the FreeMarkerContent object that represents content to be sent to the client. In our case, the FreeMarkerContent constructor accepts two parameters:
templateis a name of a template loaded by theFreeMarkerplugin. Theindex.ftlfile doesn't exist yet, and we'll create it in the next chapter.modelis a data model to be passed during template rendering. In our case, we pass an already created list of articles in thearticlestemplate variable.
Create a template
The FreeMarker plugin is configured to load templates located in the templates directory. First, create the templates directory inside resources. Then, create the index.ftl file inside resources/templates and fill it with the following content:
Let's examine the main pieces of this code:
A comment with @ftlvariable declares a variable named
articleswith theList<Article>type. This comment helps IntelliJ IDEA resolve attributes exposed by thearticlestemplate variable.The next part contains header elements of our journal - a logo and a heading.
Inside the
listtag, we iterate through all the articles and show their content. Note that the article title is rendered as a link to a specific article (the/articles/${article.id}path). A page showing a specific article will be implemented later in Show a created article.A link at the bottom leads to
/articles/newfor creating a new article.
At this point, you can already run the application and see the main page of our journal.
Refactor a template
Given that a logo and a heading should be displayed on all pages of our application, let's refactor index.ftl and extract common code to a separate template. This can be accomplished using FreeMarker macros. Create the resources/templates/_layout.ftl file and fill it with the following content:
Then, update the index.ftl file to reuse _layout.ftl:
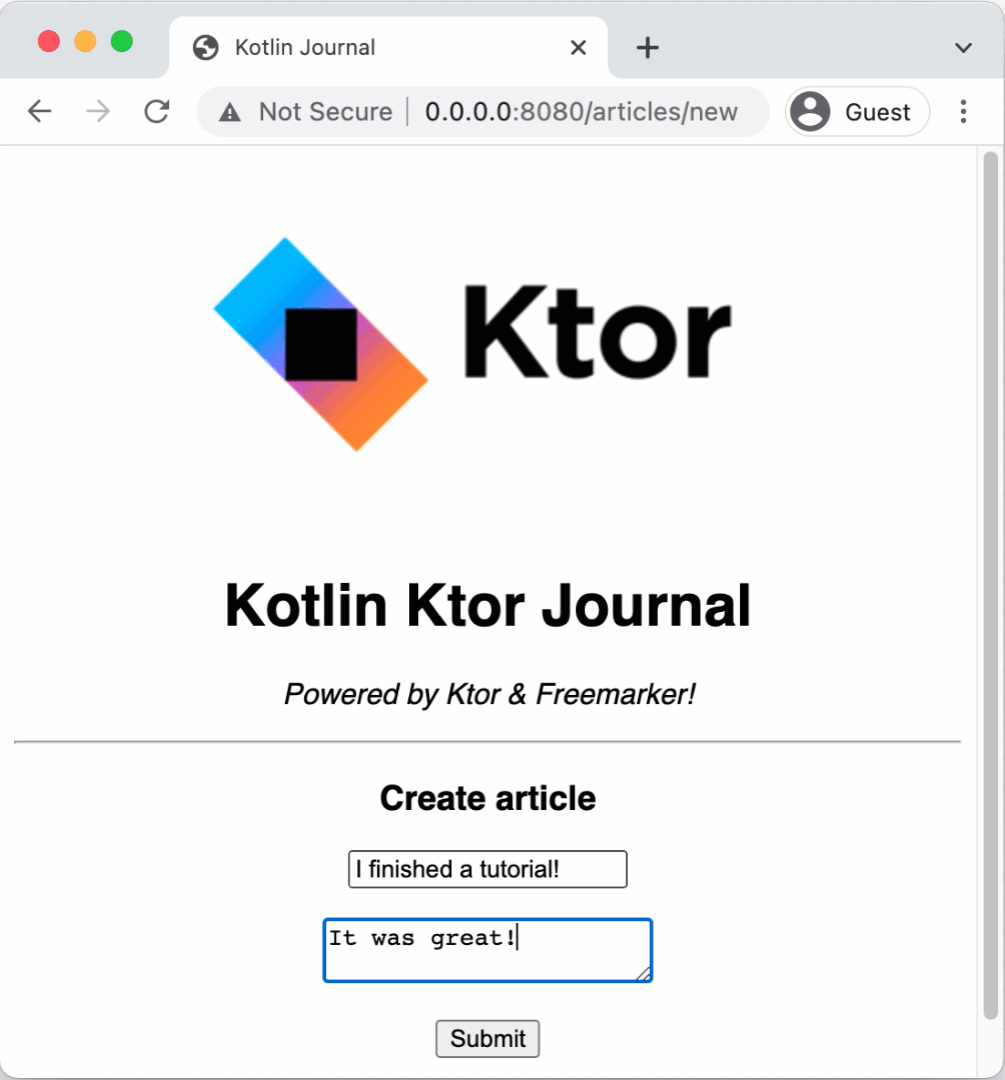
Create a new article
Now let's handle requests for the /articles/new path. Open Routing.kt and add the following code inside get("new"):
Here we respond with the new.ftl template without a data model since a new article doesn't exist yet.
Create the resources/templates/new.ftl file and insert the following content:
The new.ftl template provides a form for submitting an article content. Given that this form sends data in a POST request to the /articles path, we need to implement a handler that reads form parameters and adds a new article to the storage. Go back to the Routing.kt file and add the following code in the post handler:
The call.receiveParameters function is used to receive form parameters and get their values. After saving a new article, call.respondRedirect is called to redirect to a page showing this article. Note that a URL path for a specific article contains an ID parameter whose value should be obtained at runtime. We'll take a look at how to handle path parameters in the next chapter.
Show a created article
To show the content of a specific article, we'll use the article ID as a path parameter. In Routing.kt, add the following code inside get("{id}"):
call.parameters is used to obtain the article ID passed in a URL path. To show the article with this ID, we need to find this article in a storage and pass it in the article template variable.
Then, create the resources/templates/show.ftl template and fill it with the following code:
The /articles/${article.id}/edit link at the bottom of this page should open a form for editing or deleting this article.
Edit or delete an article
A route for editing an article should look as follows:
Similar to a route for showing an article, call.parameters is used to obtain the article identifier and find this article in a storage.
Now create resources/templates/edit.ftl and add the following code:
Given that HTML forms don't support PATCH and DELETE verbs, the page above contains two separate forms for editing and deleting an article. On the server side, we can distinguish POST requests sent by these forms by checking the input's name and value attributes.
Open the Routing.kt file and insert the following code inside post("{id}"):
This code works as follows:
call.parametersis used to obtain the ID of the article to be edited.call.receiveParametersis used to get the action initiated by a user -updateordelete.Depending on the action, the article is updated or deleted from the storage.
Run the application
Let's see if our journal application is performing as expected. We can run our application by pressing the Run button next to fun main(...) in our Application.kt:

IntelliJ IDEA will start the application, and after a few seconds, we should see the confirmation that the app is running:
Open http://localhost:8080/ in a browser and try to create, edit, and delete articles:
However, if you stop the server, all saved articles vanish as we are storing them in an in-memory storage. In the next tutorial, we'll show you how to add persistence to the website using the Exposed framework: Database persistence with Exposed.