Full-stack development with Kotlin Multiplatform
In this article, you will learn how to develop a full-stack application in Kotlin that runs on Android, iOS, and desktop platforms, all while leveraging Ktor for seamless data handling.
By the end of this tutorial, you’ll know how to do the following:
Create full-stack applications using Kotlin Multiplatform.
Understand the project created by the Multiplatform Wizard.
Create Compose Multiplatform clients that call Ktor services.
Reuse shared types across different layers of your design.
Correctly include and configure multiplatform libraries.
In previous tutorials, we used the Task Manager example to handle requests, create RESTful APIs, and integrate a database with Exposed. Client applications were kept as minimal as possible, so you could focus on learning the fundamentals of Ktor.
You will create a client that will target the Android, iOS, and desktop platforms, using a Ktor service to acquire the data to be displayed. Wherever possible you will share data types between the client and the server, speeding up development and reducing the potential for errors.
Prerequisites
In previous articles, IntelliJ IDEA was used as the IDE. In this case, because you will be working with mobile applications, Fleet will be used instead. To learn how to install and configure your environment, see the Fleet for Multiplatform development tutorial.
If this is the first time you use Compose Multiplatform we recommend that you complete the Get started with Compose Multiplatform tutorial before starting this one. To reduce the complexity of the task, you can focus on a single client platform. For example, if you have never used iOS, it might be wise to focus on desktop or Android development.
Create a new project
Instead of choosing the Ktor Project Generator to create the initial project, you will use the Kotlin Multiplatform Wizard. This will create a project to which you can add clients and services. The clients can either use a native UI library, such as SwiftUI, or share the same UI by using Compose Multiplatform.
Open the Kotlin Multiplatform Wizard.
Enter full-stack-task-manager as the name of the project, and org.example.ktor as the project ID.
Select , , , and as the targeted platforms.
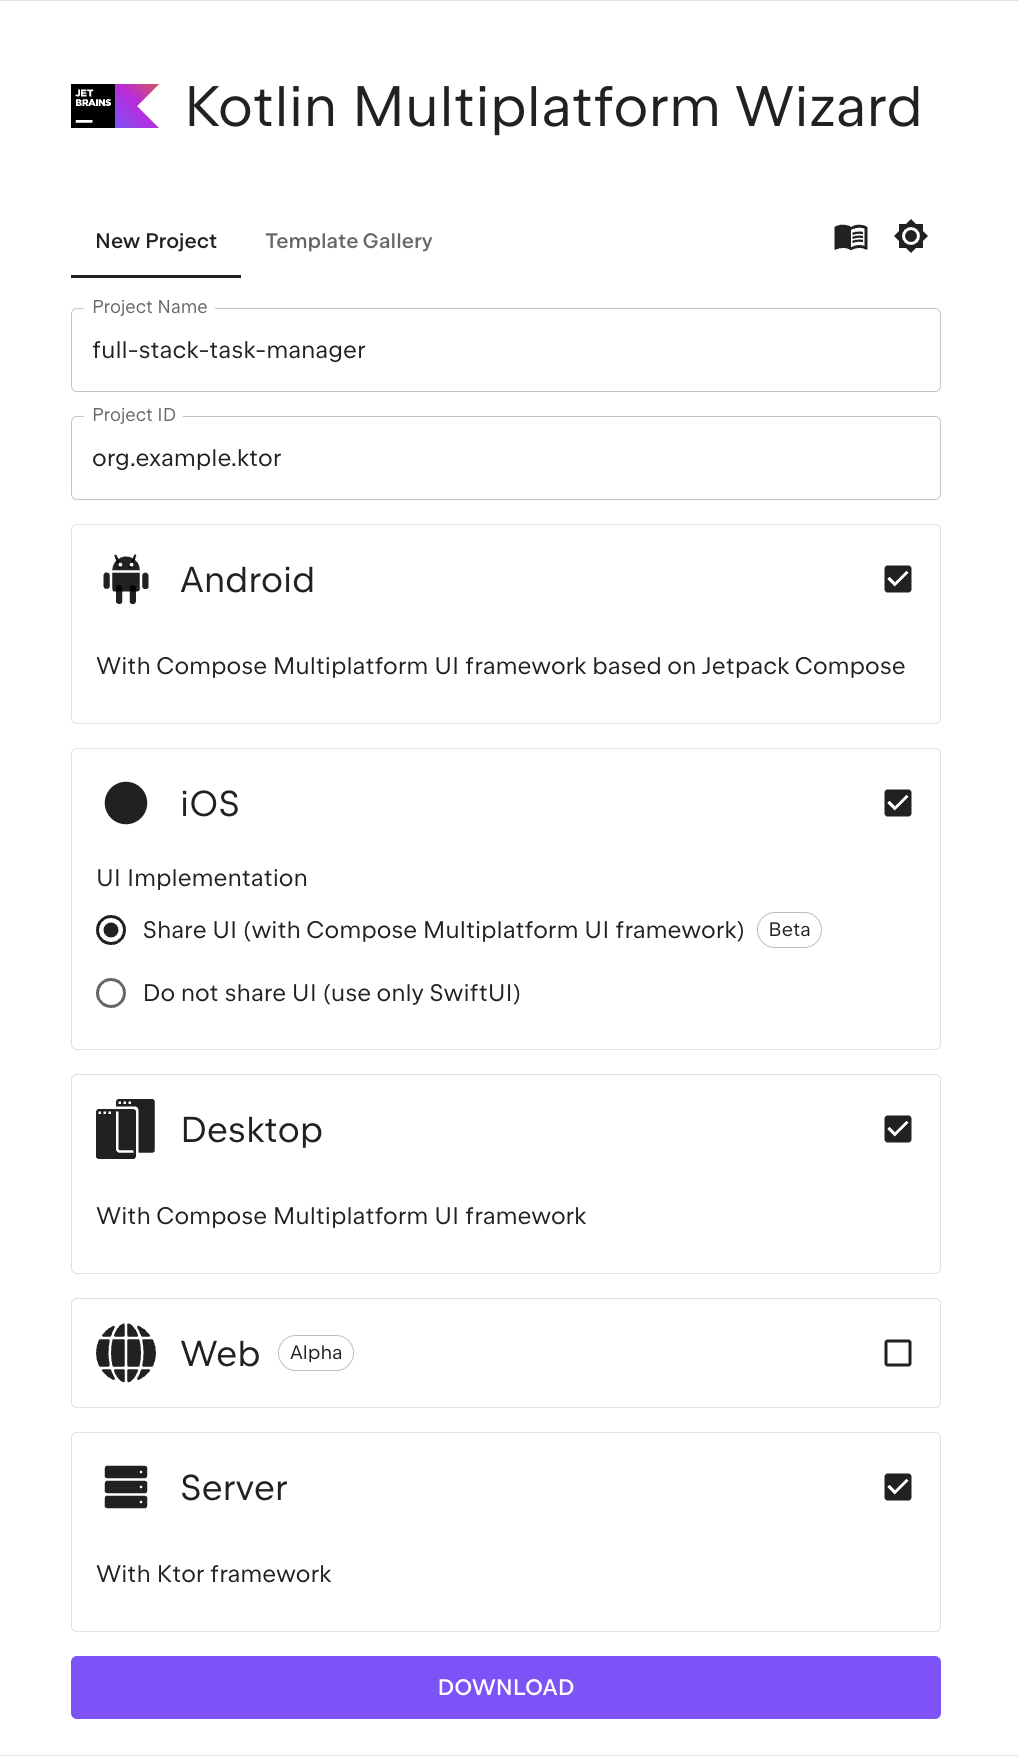
Click the Download button to download the project.
Unpack the resulting ZIP file into a folder of your choice.
Examine the project
Launch Fleet.
On the Welcome screen, click Open, or select File | Open in the editor.
Navigate to the unpacked project folder and then click Open.
When opening a folder with a build file, Fleet gives you the option to enable Smart Mode. Click Trust and Open.
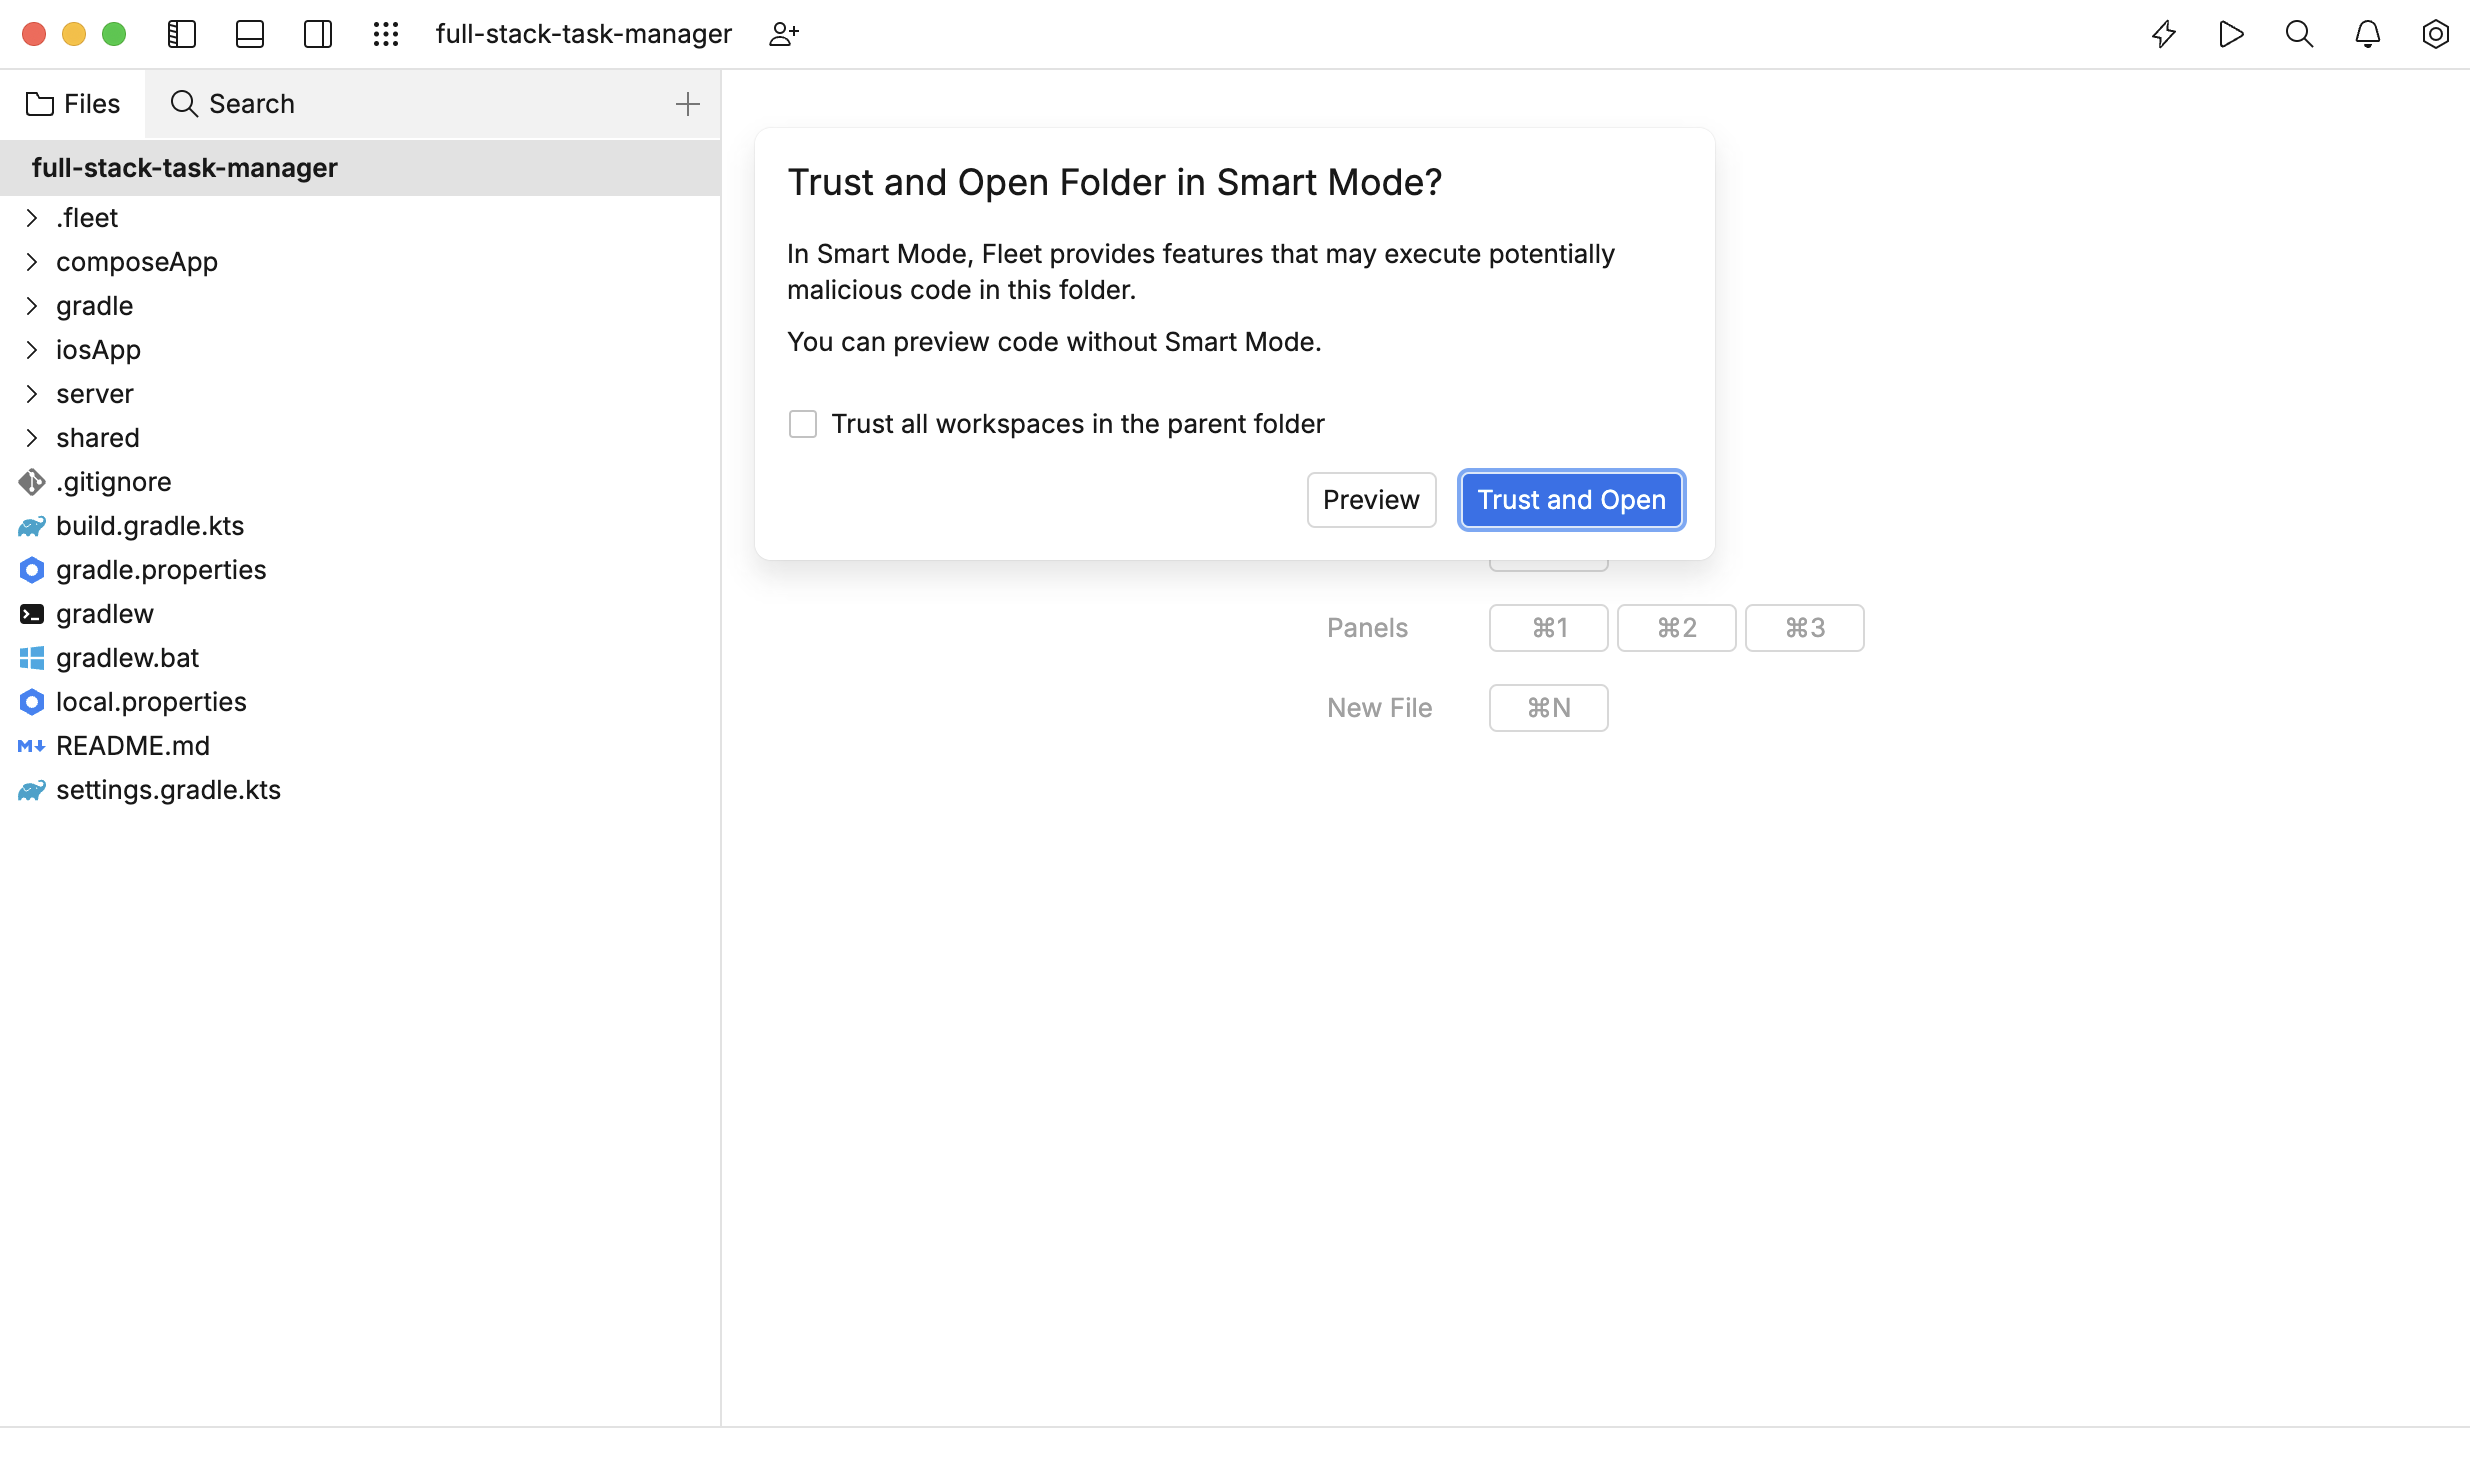
Wait until the project has been fully imported and indexed.
In the panel, navigate to server/src/main/kotlin/org/example/ktor and open the Application.kt file.
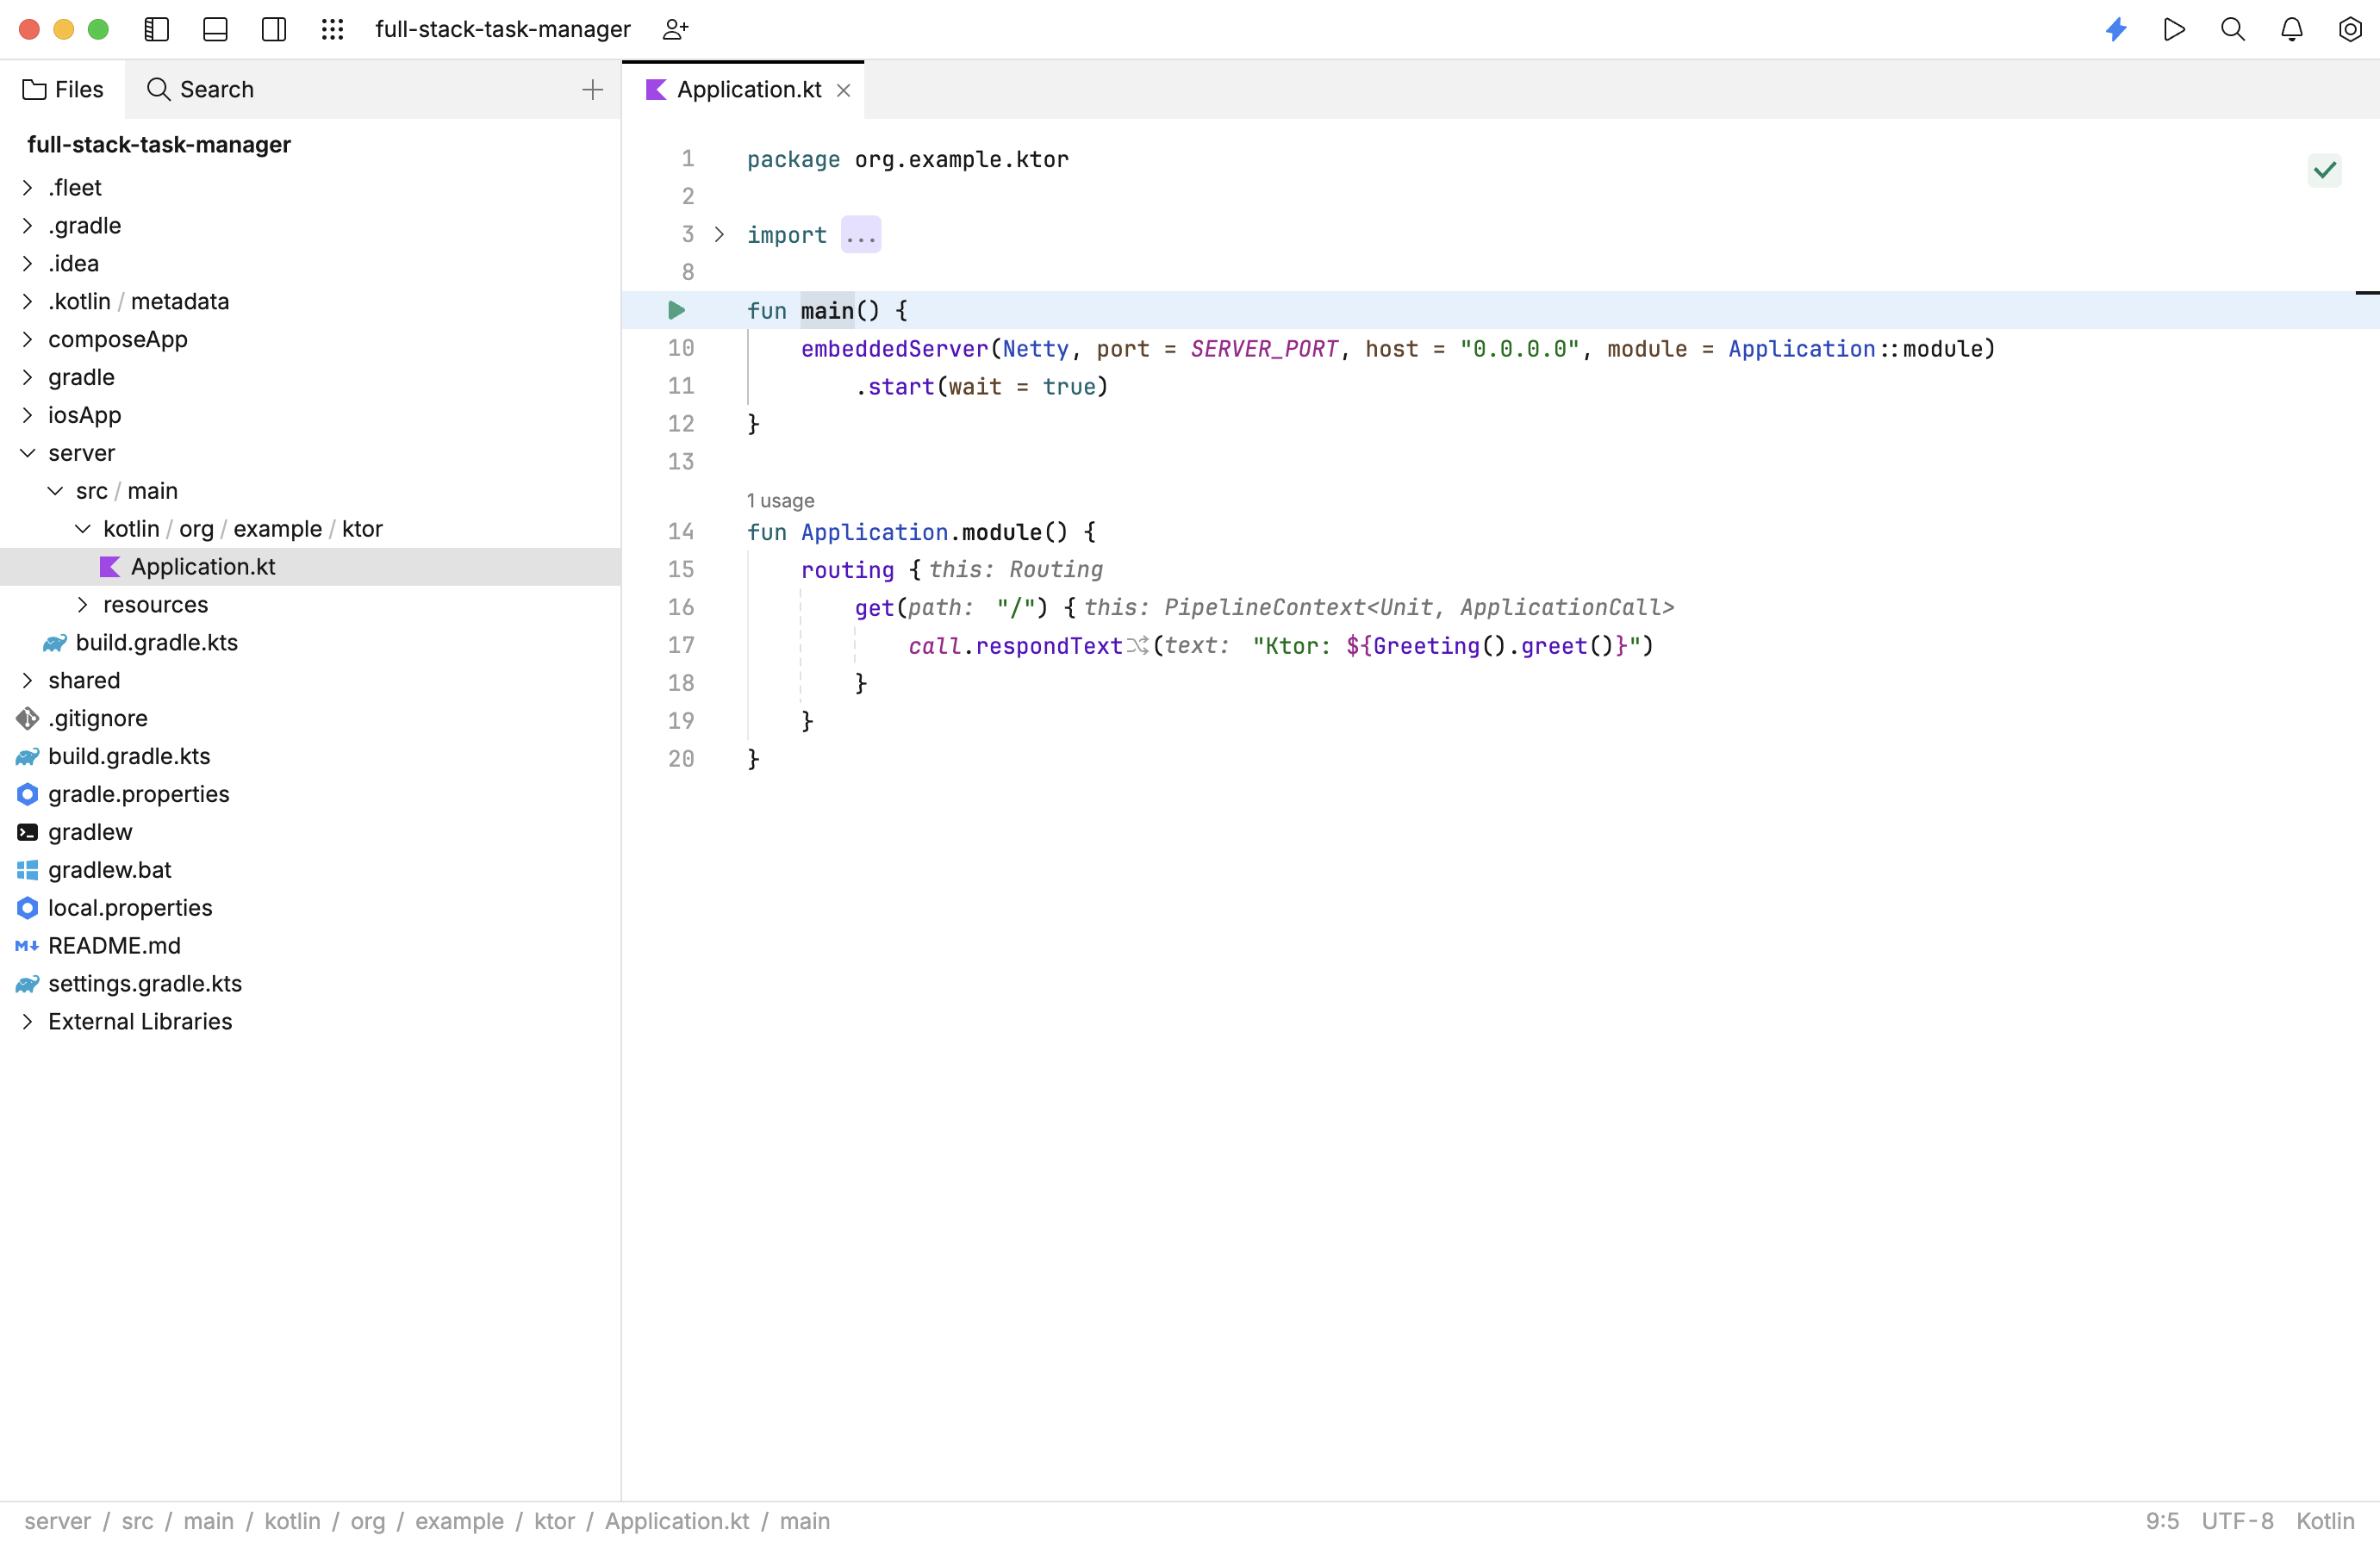
It isn't immediately clear by looking at the project structure, but the server folder is one of three Kotlin modules in the project. The other two are shared and composeApp.
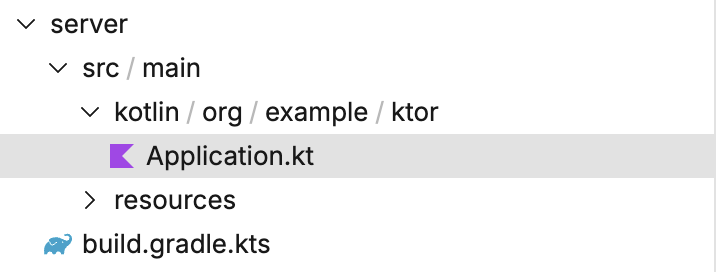
The structure of the server module is very similar to that produced by the Ktor Project Generator. You have a dedicated build file to declare plugins and dependencies, and a source set containing the code to build and launch a Ktor service:
Run the service
You can run this service by executing the run configuration for the target.
Press ⌘Cmd+R or select from the main menu to access the run configurations. A new popup window will open displaying a list of available configurations.
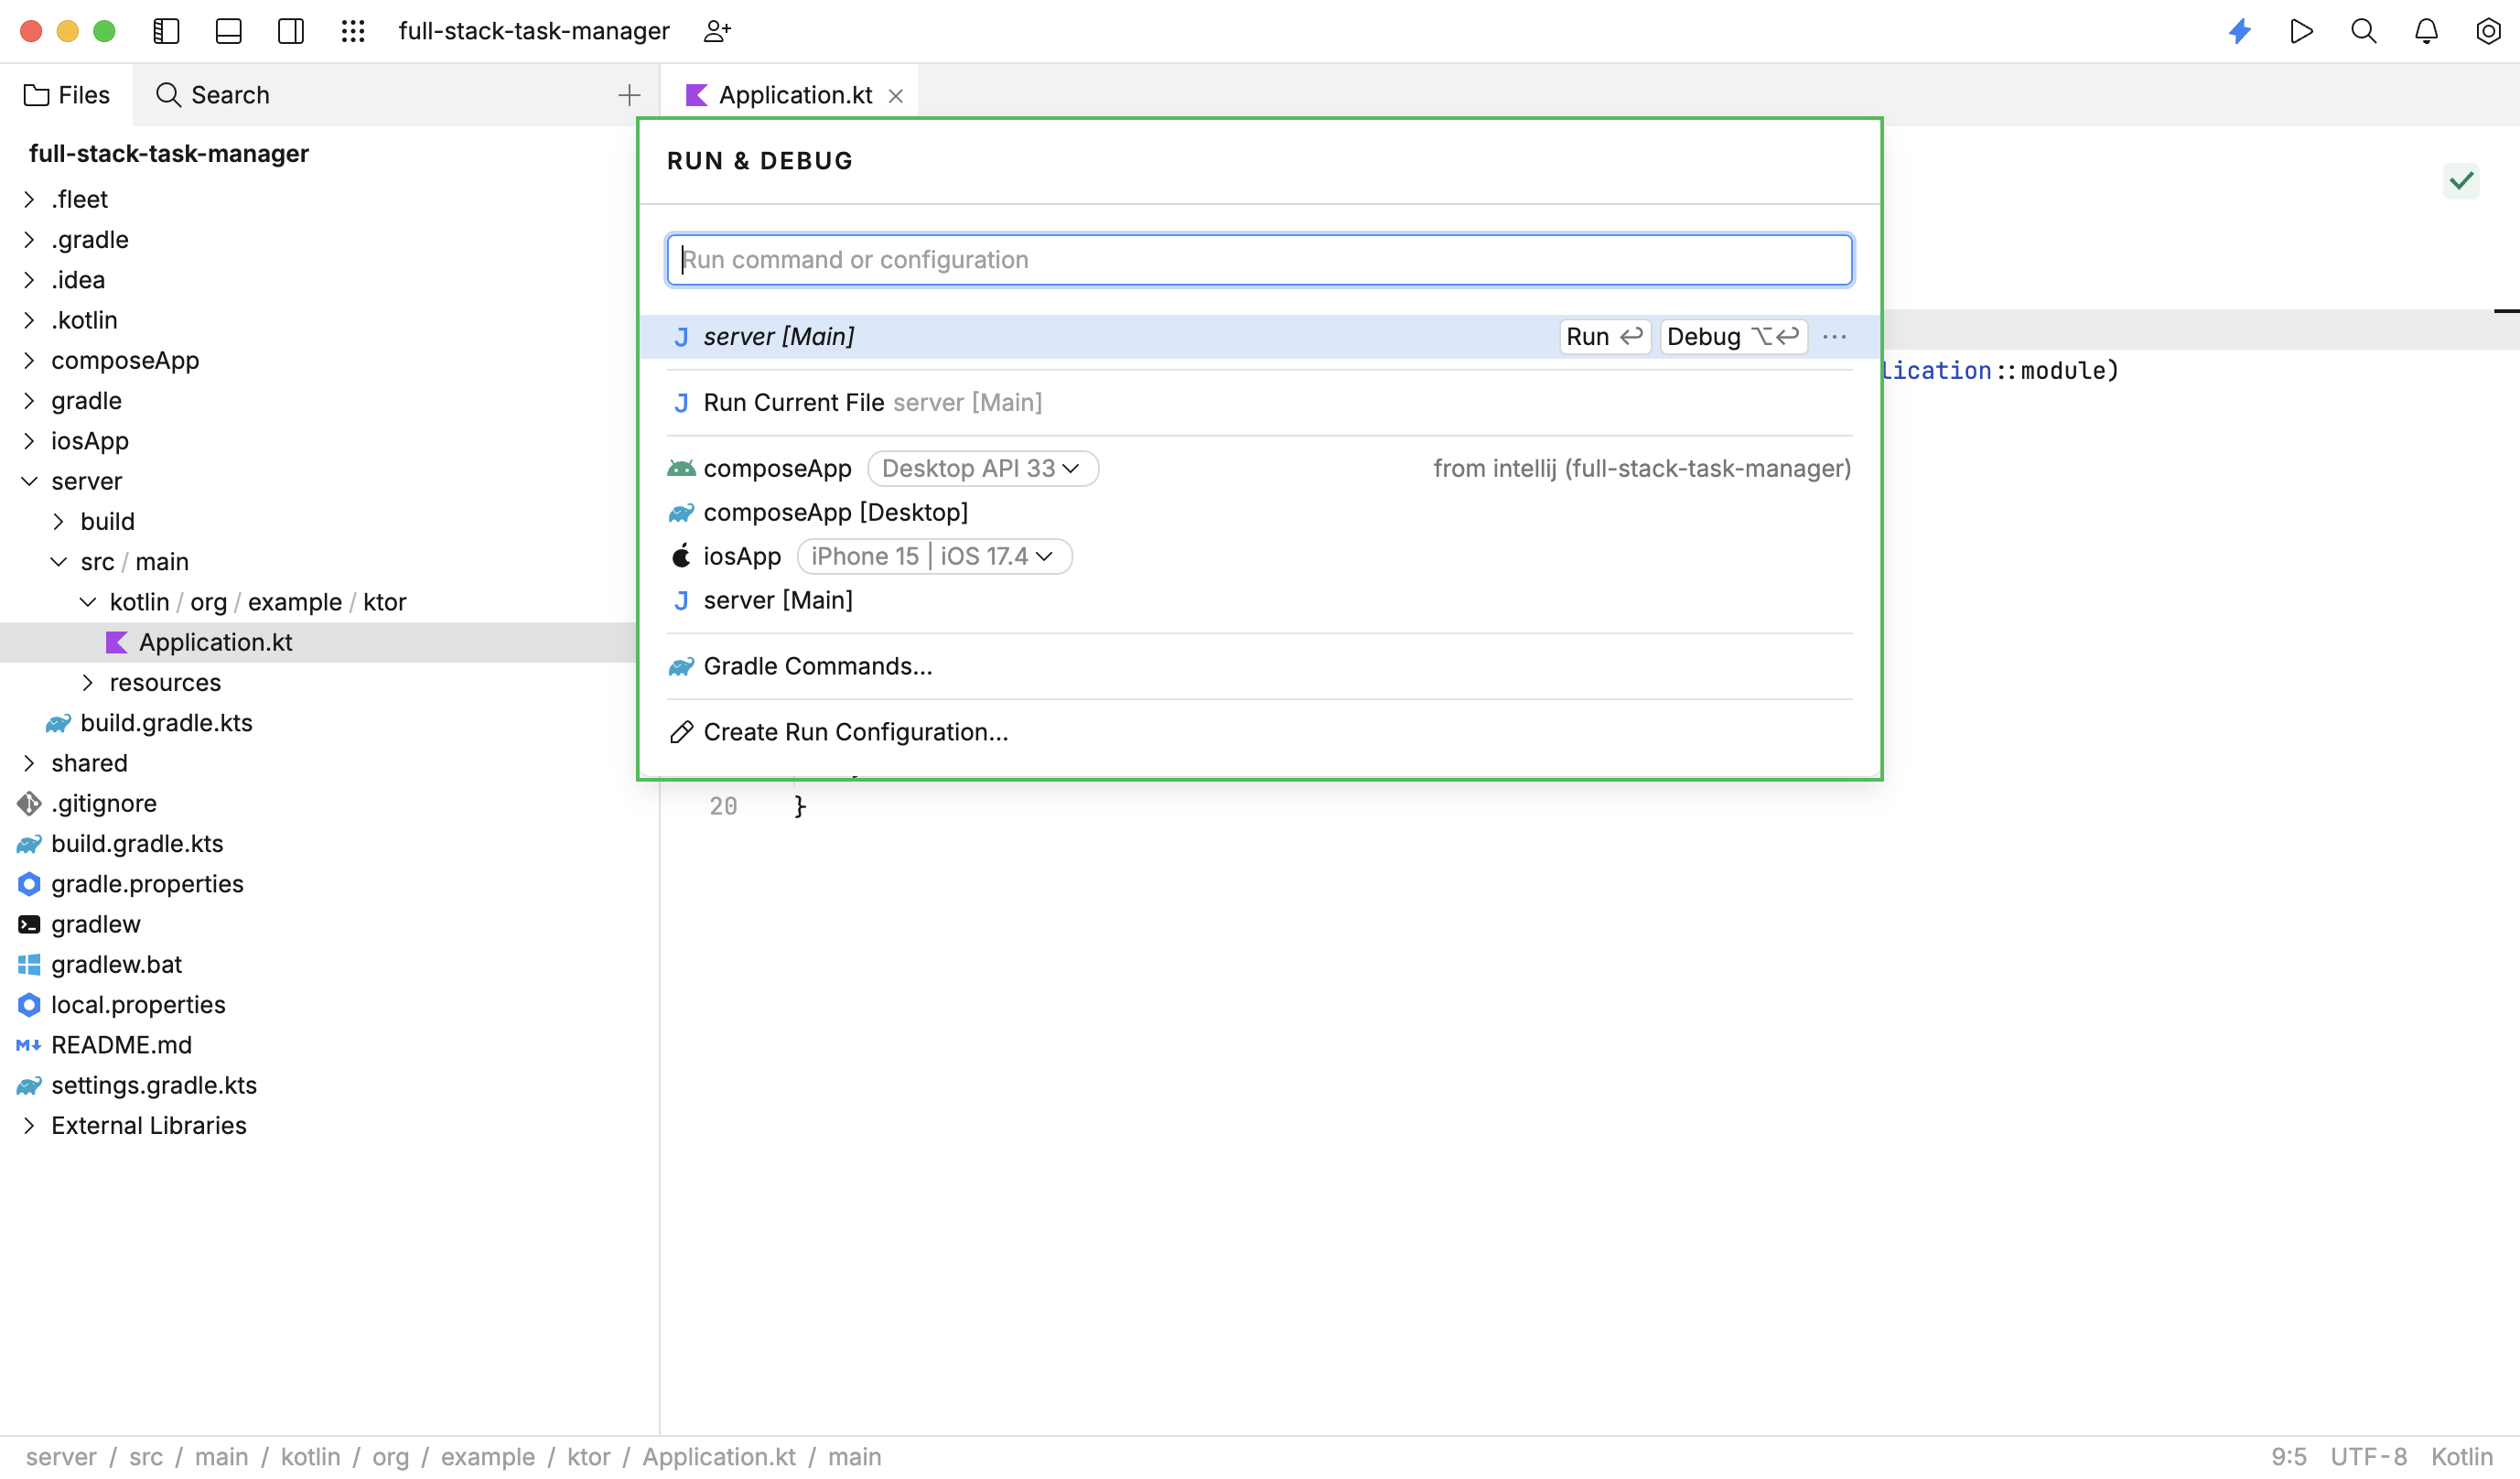
Click Run for the configuration. The service will start in a new panel at the bottom of the IDE.
Navigate to http://0.0.0.0:8080/ to open the application. You should see a message from Ktor displayed in the browser.
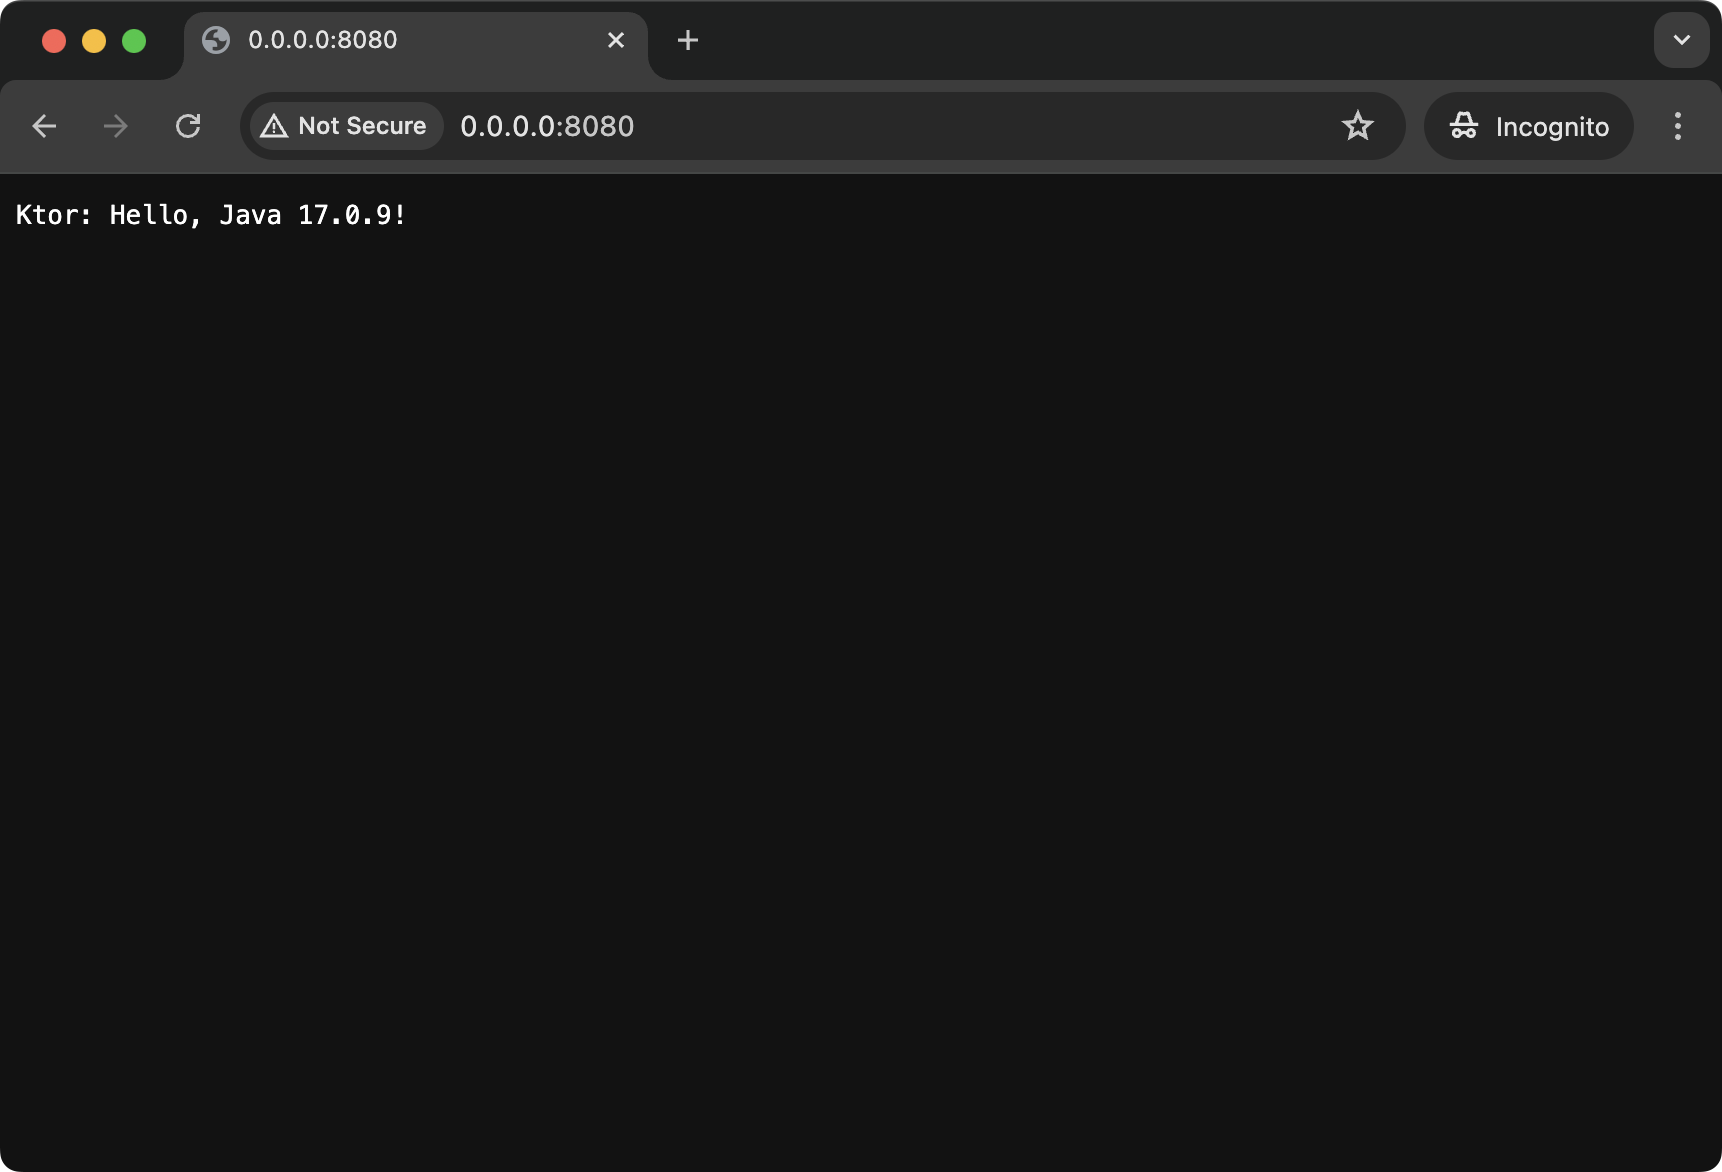
If you look at the routing instructions in the Application.kt file, you will see an extra feature, which is not present in the ‘Hello World’ code created by the Ktor Project Generator:
This creates an instance of the Greeting type and invokes its greet() method. If you look for this type in the server module you will not be able to find it. Instead, you will find it within the shared module: 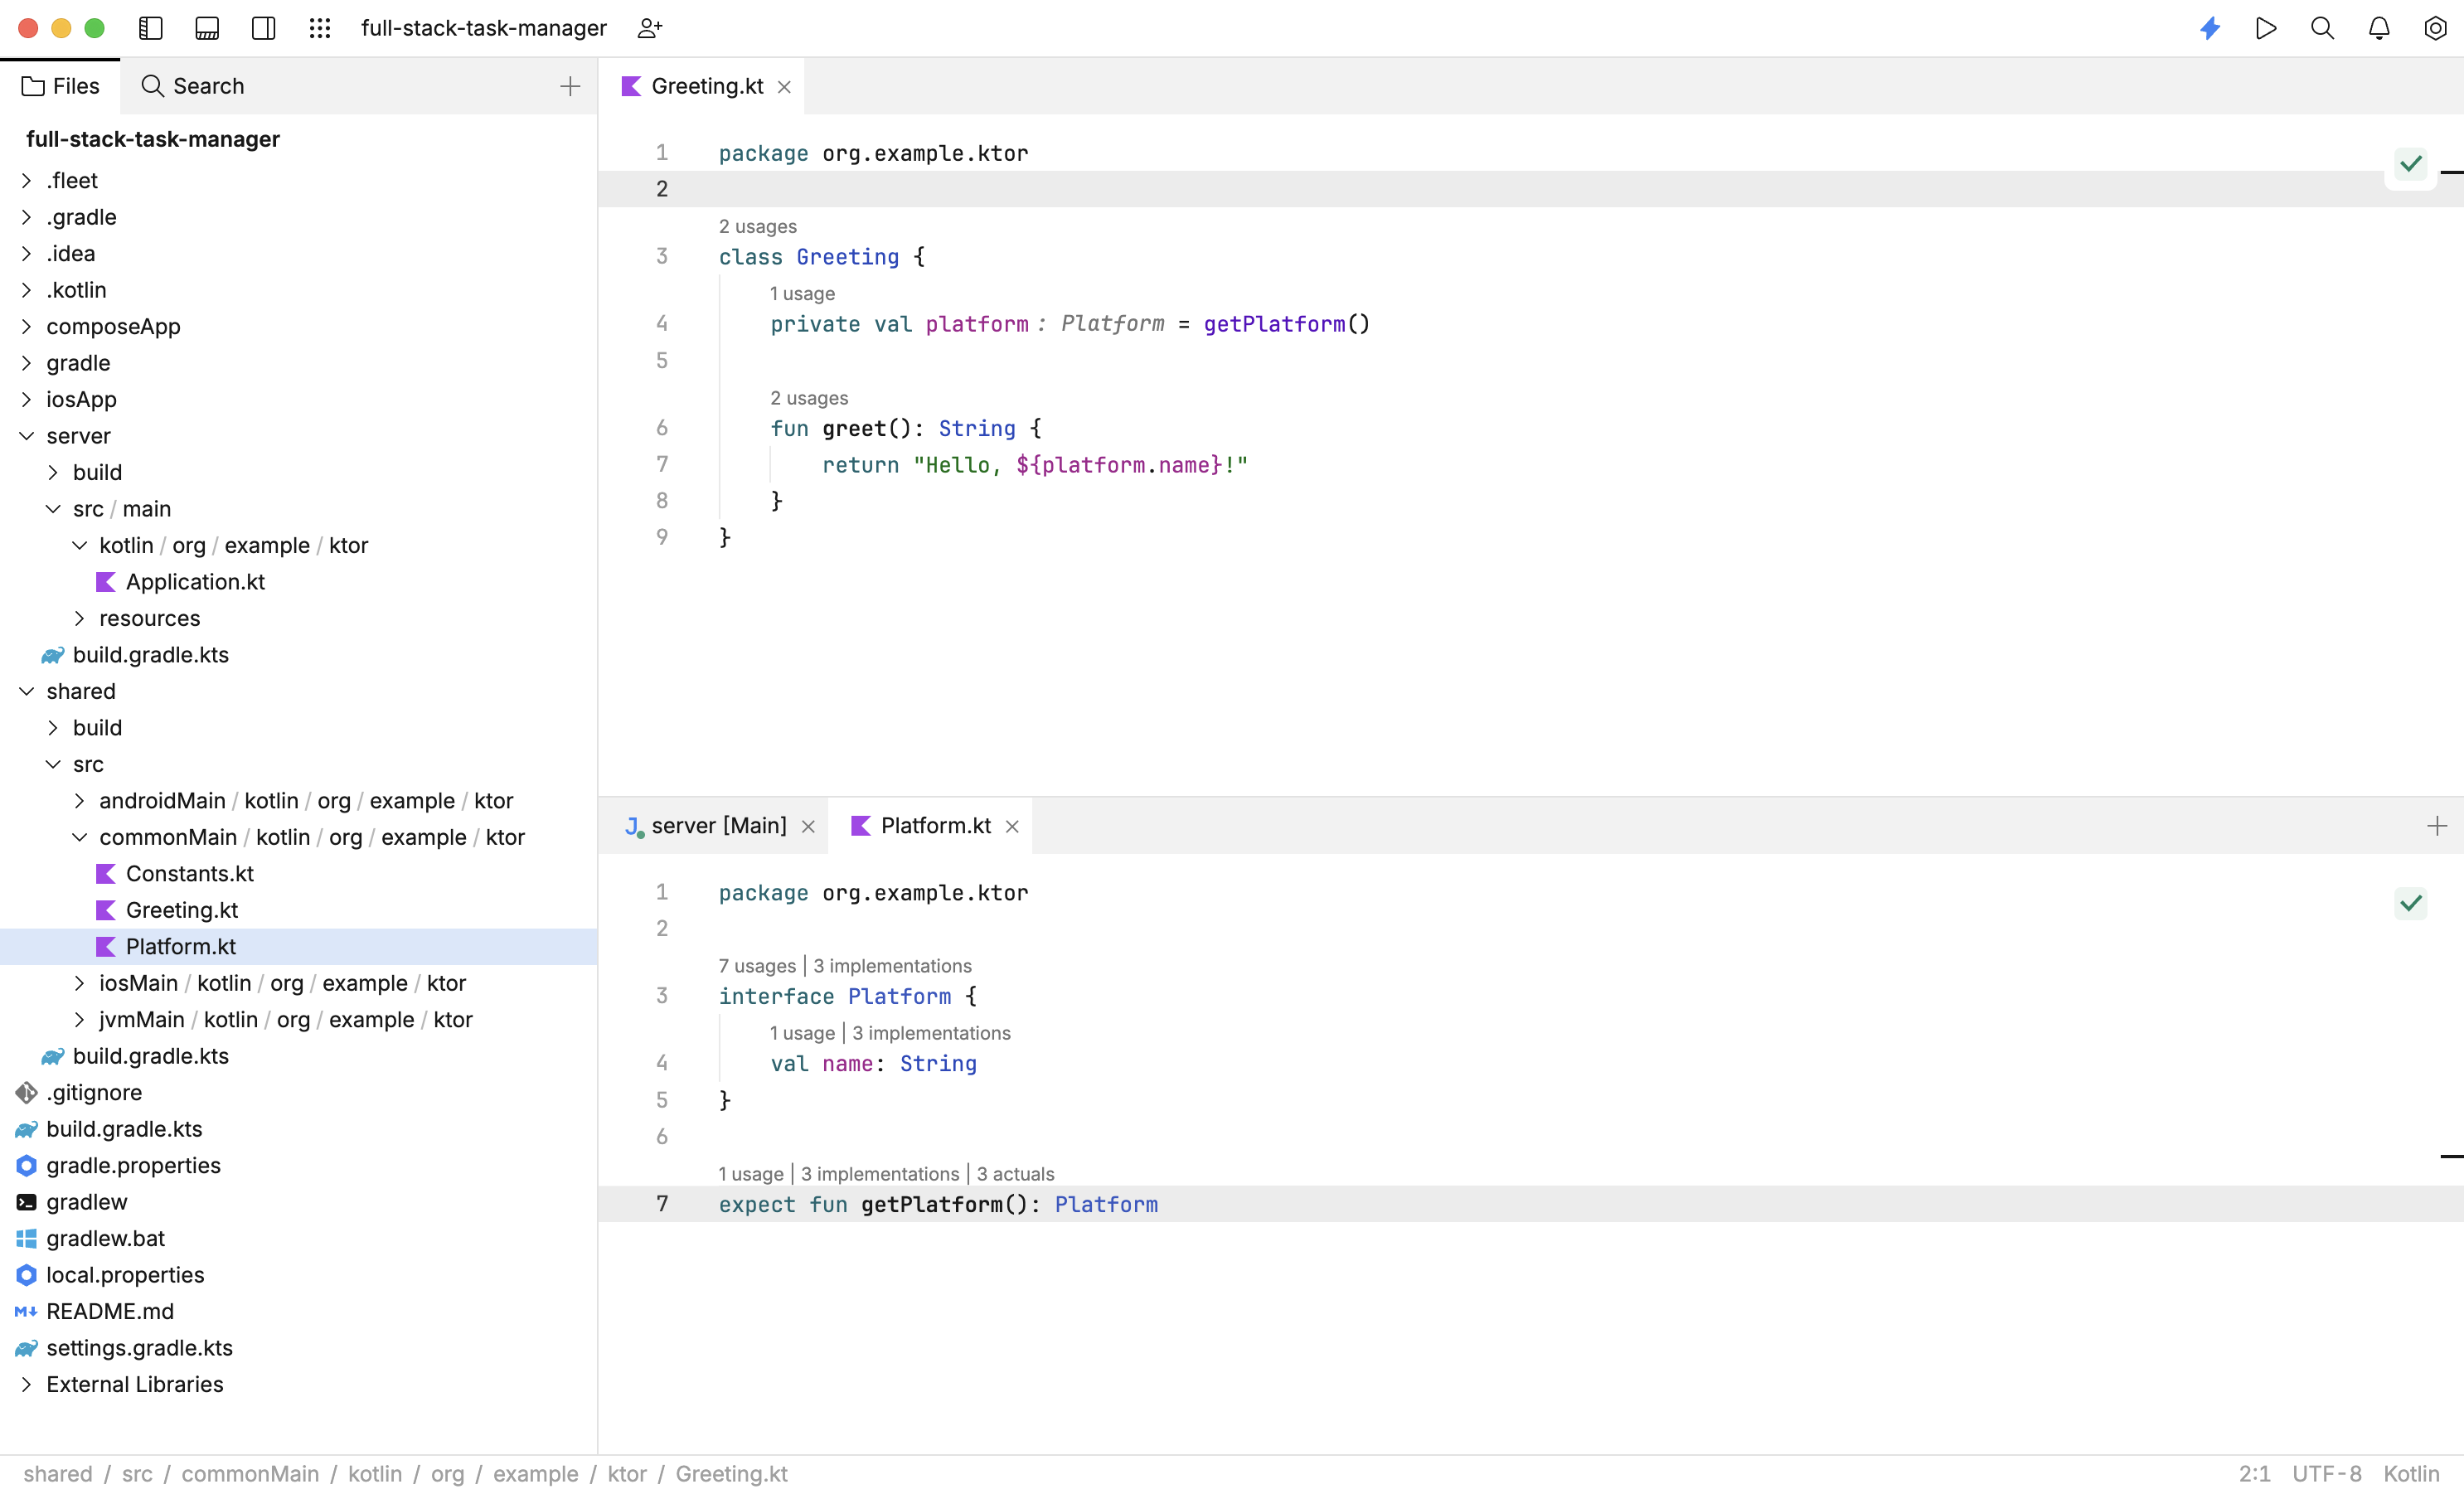
The shared module contains code that will be used across different target platforms.
The commonMain source set holds types that will be used on all platforms. As you can see this is where the Greeting type lives. This is where you will put the common code that you want to share between client and server, and also between different client platforms.
The shared module also contains a source set for each platform where you wish to provide a client. This is because types declared within commonMain may require functionality that varies by target platform. In the case of the Greeting type, you want to obtain the name of the current platform. This is achieved through expected and actual declarations.
In the commonMain source set of the shared module you declare a getPlatform() function with the expect keyword.
Then each target platform must provide an actual declaration of the getPlatform() function, as shown below:
There is one additional module in the project, the composeApp module. This is where the Android, iOS, and Desktop clients live. You can run these as specified in the ‘Run your application’ step of the Compose Multiplatform tutorial.
These clients are not linked to the Ktor service at the moment, but they do use the shared Greeting class. For example, if you execute the run configuration, a client will start in the iOS Simulator:
This is a composable function, which you will modify later in this article. For the moment all that is important is that it displays a UI and makes use of the Greeting type, which in turn uses the platform-specific Platform type.
Now that you understand the structure of the generated project, you can incrementally include the task manager functionality from previous articles.
Add the model types
First, you will add the model types and make sure that they are accessible on both the client and the server.
Navigate to shared/src/commonMain/kotlin/org/example/ktor and create a new package called model.
Inside the new package, create a new file called Task.kt.
Add an
enumto represent priorities and aclassto represent tasks. TheTaskclass is annotated with theSerializabletype from thekotlinx.serializationlibrary:import kotlinx.serialization.Serializable enum class Priority { Low, Medium, High, Vital } @Serializable data class Task( val name: String, val description: String, val priority: Priority )You will notice that neither the import nor the annotation compiles. This is because the
kotlinx.serializationlibrary has not been included for us by the wizard.Navigate to shared/build.gradle.kts and add the serialization plugin:
plugins { //... kotlin("plugin.serialization") version "1.9.20" }In the same file, add a new dependency to the commonMain source set:
sourceSets { commonMain.dependencies { // put your Multiplatform dependencies here implementation("org.jetbrains.kotlinx:kotlinx-serialization-json:1.6.1") } }In Fleet, click the icon on the top right of the panel to sync the build file. Once loading has finished, you should find that your Task.kt file compiles successfully.
Note that the code would have compiled without including the serialization plugin, however, the types required to serialize Task objects across the network would not have been produced. This would lead to runtime errors when attempting to invoke the service.
Placing the serialization plugin in another module (such as server or composeApp) would not have caused an error at build time. But again, the additional types required for serialization would not have been generated, leading to runtime errors.
Create the server
The next stage is to create the server implementation for our task manager.
Navigate to the server/src/main/kotlin/org/example/ktor folder and create a sub-package called model.
Inside this package, create a new TaskRepository.kt file and add the following interface for our repository:
interface TaskRepository { fun allTasks(): List<Task> fun tasksByPriority(priority: Priority): List<Task> fun taskByName(name: String): Task? fun addOrUpdateTask(task: Task) fun removeTask(name: String): Boolean }In the same package, create a new file called InMemoryTaskRepository.kt containing the following class:
class InMemoryTaskRepository : TaskRepository { private var tasks = listOf( Task("Cleaning", "Clean the house", Priority.Low), Task("Gardening", "Mow the lawn", Priority.Medium), Task("Shopping", "Buy the groceries", Priority.High), Task("Painting", "Paint the fence", Priority.Low), Task("Cooking", "Cook the dinner", Priority.Medium), Task("Relaxing", "Take a walk", Priority.High), Task("Exercising", "Go to the gym", Priority.Low), Task("Learning", "Read a book", Priority.Medium), Task("Snoozing", "Go for a nap", Priority.High), Task("Socializing", "Go to a party", Priority.High) ) override fun allTasks(): List<Task> = tasks override fun tasksByPriority(priority: Priority) = tasks.filter { it.priority == priority } override fun taskByName(name: String) = tasks.find { it.name.equals(name, ignoreCase = true) } override fun addOrUpdateTask(task: Task) { var notFound = true tasks = tasks.map { if (it.name == task.name) { notFound = false task } else { it } } if (notFound) { tasks = tasks.plus(task) } } override fun removeTask(name: String): Boolean { val oldTasks = tasks tasks = tasks.filterNot { it.name == name } return oldTasks.size > tasks.size } }Navigate to Application.kt and replace the existing code with the implementation below:
package org.example.ktor import InMemoryTaskRepository import Task import io.ktor.http.HttpStatusCode import io.ktor.serialization.JsonConvertException import io.ktor.serialization.kotlinx.json.json import io.ktor.server.application.* import io.ktor.server.engine.* import io.ktor.server.netty.* import io.ktor.server.plugins.contentnegotiation.ContentNegotiation import io.ktor.server.request.receive import io.ktor.server.response.* import io.ktor.server.routing.* fun main() { embeddedServer(Netty, port = SERVER_PORT, host = "0.0.0.0", module = Application::module) .start(wait = true) } fun Application.module() { install(ContentNegotiation) { json() } val repository = InMemoryTaskRepository() routing { route("/tasks") { get { val tasks = repository.allTasks() call.respond(tasks) } get("/byName/{taskName}") { val name = call.parameters["taskName"] if (name == null) { call.respond(HttpStatusCode.BadRequest) return@get } val task = repository.taskByName(name) if (task == null) { call.respond(HttpStatusCode.NotFound) return@get } call.respond(task) } get("/byPriority/{priority}") { val priorityAsText = call.parameters["priority"] if (priorityAsText == null) { call.respond(HttpStatusCode.BadRequest) return@get } try { val priority = Priority.valueOf(priorityAsText) val tasks = repository.tasksByPriority(priority) if (tasks.isEmpty()) { call.respond(HttpStatusCode.NotFound) return@get } call.respond(tasks) } catch (ex: IllegalArgumentException) { call.respond(HttpStatusCode.BadRequest) } } post { try { val task = call.receive<Task>() repository.addOrUpdateTask(task) call.respond(HttpStatusCode.NoContent) } catch (ex: IllegalStateException) { call.respond(HttpStatusCode.BadRequest) } catch (ex: JsonConvertException) { call.respond(HttpStatusCode.BadRequest) } } delete("/{taskName}") { val name = call.parameters["taskName"] if (name == null) { call.respond(HttpStatusCode.BadRequest) return@delete } if (repository.removeTask(name)) { call.respond(HttpStatusCode.NoContent) } else { call.respond(HttpStatusCode.NotFound) } } } } }This implementation is very similar to that in previous tutorials with the exception that now you have placed all the routing code within the
Application.module()function for simplicity.Once you have entered this code and added the imports, you will find that there is an outstanding compiler error. This is because the
ContentNegotiationplugin was not included by the project wizard.Open the server-side build file inside server/build.gradle.kts and add the following dependencies:
dependencies { //... implementation("io.ktor:ktor-serialization-kotlinx-json-jvm:$ktor") implementation("io.ktor:ktor-server-content-negotiation-jvm:$ktor") }Re-sync the build file. You should find that you can now import the
ContentNegotiationtype andjson()function.Rerun the server. You should find that the routes are reachable from the browser.
Navigate to http://0.0.0.0:8080/tasks and http://0.0.0.0:8080/tasks/byPriority/Medium to see the server response of tasks in a JSON format.
Create the client
For your clients to be able to access the server you need to include the Ktor Client. There are three types of dependency involved in this:
The core functionality for the Ktor Client.
Platform-specific engines to handle networking.
Support for content negotiation and serialization.
Navigate to composeApp/build.gradle.kts and add the following dependencies:
sourceSets { val desktopMain by getting androidMain.dependencies { //... implementation("io.ktor:ktor-client-android:2.3.12") } commonMain.dependencies { //... implementation("io.ktor:ktor-client-core:2.3.12") implementation("io.ktor:ktor-client-content-negotiation:2.3.12") implementation("io.ktor:ktor-serialization-kotlinx-json:2.3.12") } desktopMain.dependencies { //... implementation("io.ktor:ktor-client-cio:2.3.12") } iosMain.dependencies { implementation("io.ktor:ktor-client-darwin:2.3.12") } }Once this is done you can add a
TaskApitype for your clients to act as a thin wrapper around the Ktor Client.Click the icon in the top right corner to load the changes in the build file.
Navigate to composeApp/src/commonMain/kotlin/org/example/ktor and create a new package called network.
Inside the new package, create a new TaskApi.kt file with the following implementation:
import io.ktor.client.HttpClient import io.ktor.client.call.body import io.ktor.client.plugins.contentnegotiation.ContentNegotiation import io.ktor.client.plugins.defaultRequest import io.ktor.client.request.* import io.ktor.http.ContentType import io.ktor.http.contentType import io.ktor.serialization.kotlinx.json.json import kotlinx.serialization.json.Json class TaskApi { private val httpClient = HttpClient { install(ContentNegotiation) { json(Json { encodeDefaults = true isLenient = true coerceInputValues = true ignoreUnknownKeys = true }) } defaultRequest { host = "1.2.3.4" port = 8080 } } suspend fun getAllTasks(): List<Task> { return httpClient.get("tasks").body() } suspend fun removeTask(task: Task) { httpClient.delete("tasks/${task.name}") } suspend fun updateTask(task: Task) { httpClient.post("tasks") { contentType(ContentType.Application.Json) setBody(task) } } }Note you should replace
1.2.3.4with the IP address of your current machine. You will not be able to make calls to0.0.0.0orlocalhostfrom code running on an Android Virtual Device or the iPhone simulator.Navigate to App.kt and replace the App composable with the implementation below:
package org.example.ktor import Task import TaskApi import androidx.compose.foundation.layout.Column import androidx.compose.foundation.layout.fillMaxWidth import androidx.compose.material.Button import androidx.compose.material.MaterialTheme import androidx.compose.material.Text import androidx.compose.runtime.* import androidx.compose.ui.Alignment import androidx.compose.ui.Modifier import kotlinx.coroutines.launch import org.jetbrains.compose.resources.ExperimentalResourceApi @OptIn(ExperimentalResourceApi::class) @Composable fun App() { MaterialTheme { val client = remember { TaskApi() } val tasks = remember { mutableStateOf(emptyList<Task>()) } val scope = rememberCoroutineScope() Column( Modifier.fillMaxWidth(), horizontalAlignment = Alignment.CenterHorizontally ) { Button(onClick = { scope.launch { tasks.value = client.getAllTasks() } }) { Text("Fetch Tasks") } for(task in tasks.value) { Text(task.name) } } } }This will use the
TaskApitype to retrieve the list of tasks from the server, and then display the name of each one in a column.Test the application by running the iOS and desktop clients. Click on the Fetch Tasks button to display the list of tasks:
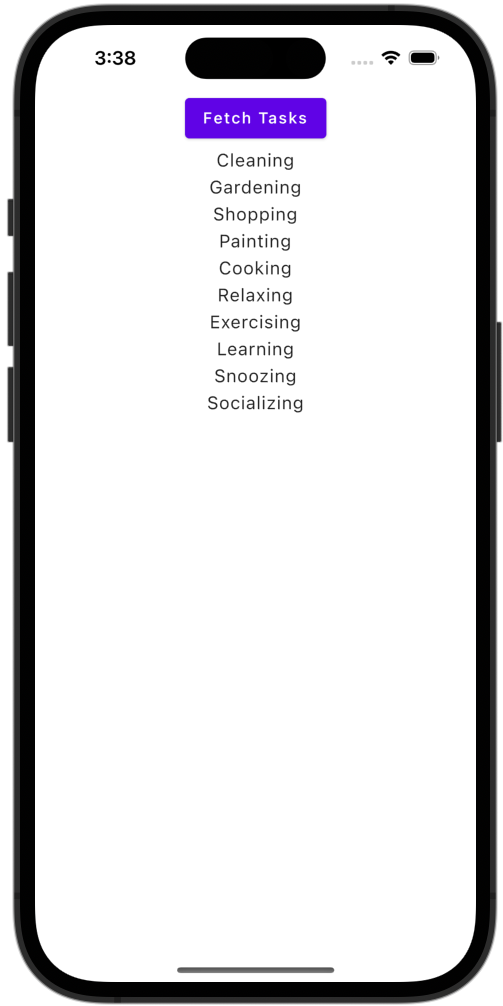
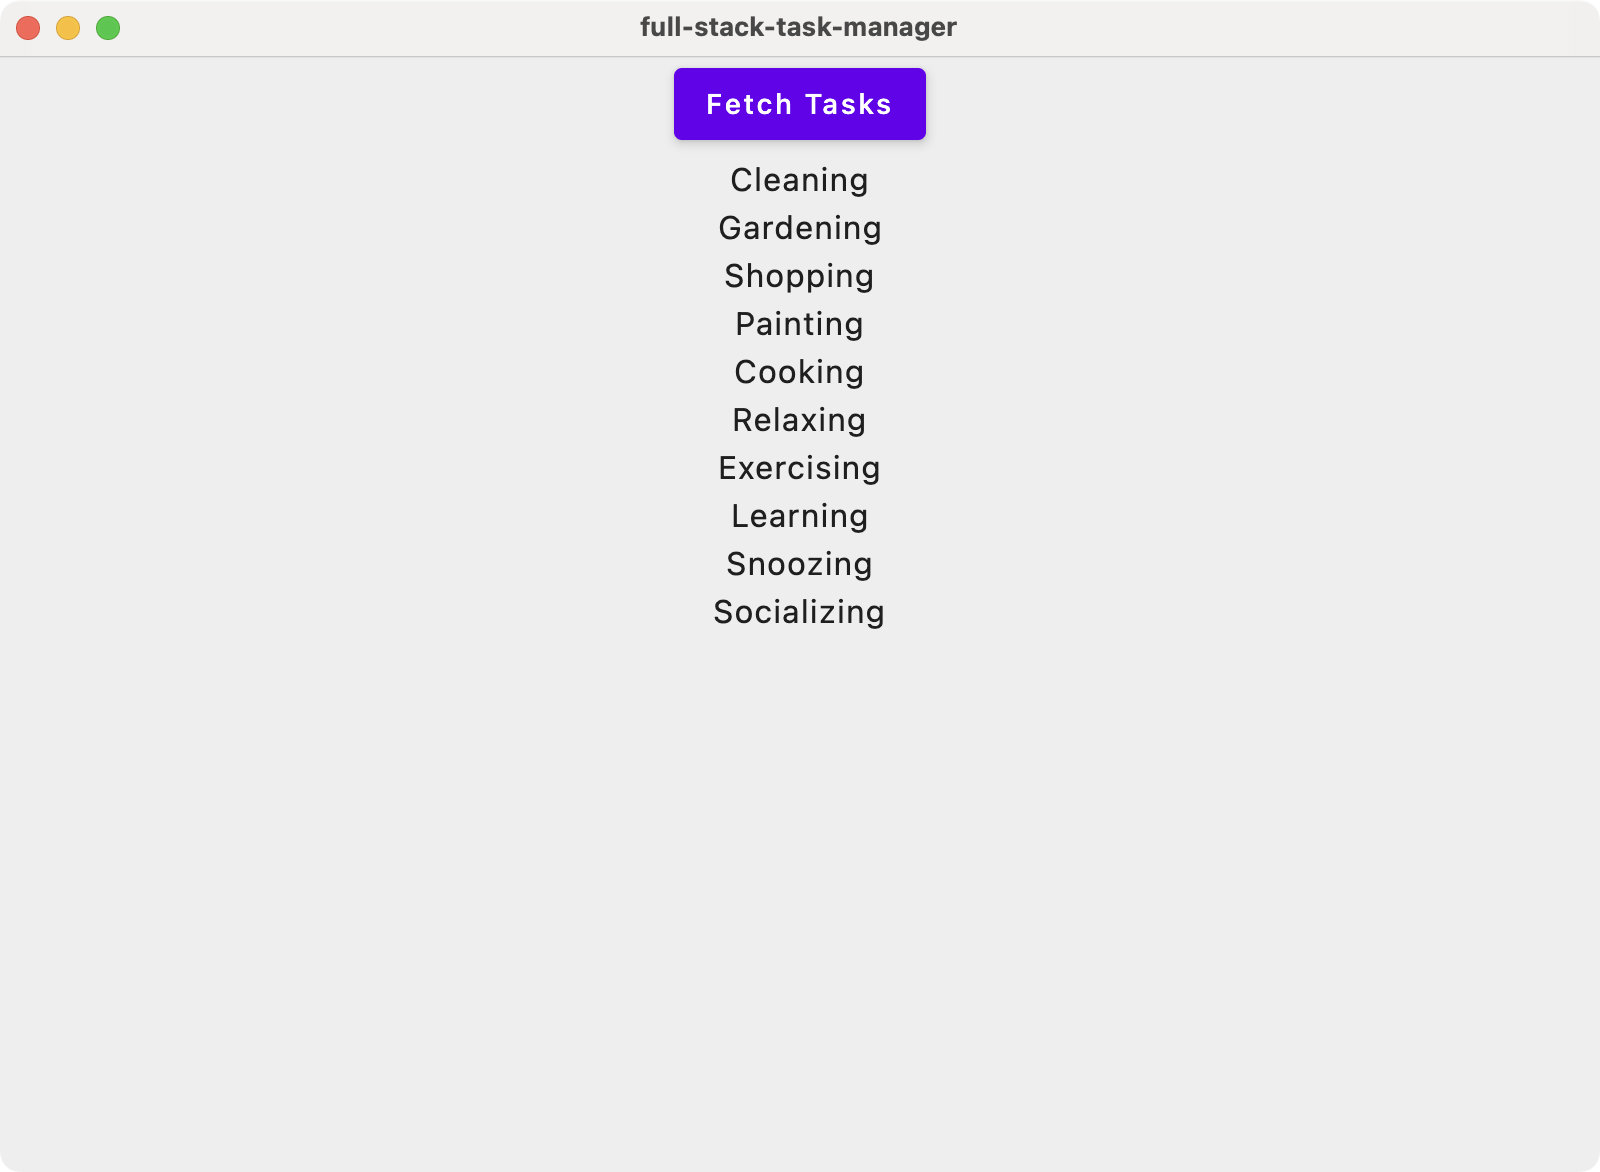
In the case of the desktop client, you need to assign dimensions and a title to the containing window. Open the file composeApp/src/desktopMain/kotlin/org/example/ktor/main.kt. You should see the following piece of code:
fun main() = application { Window( onCloseRequest = ::exitApplication, title = "full-stack-task-manager", ) { App() } }Modify this code to change the
titleand set thestateproperty, as shown below:package org.example.ktor import androidx.compose.ui.unit.DpSize import androidx.compose.ui.unit.dp import androidx.compose.ui.window.Window import androidx.compose.ui.window.WindowPosition import androidx.compose.ui.window.WindowState import androidx.compose.ui.window.application val state = WindowState( size = DpSize(400.dp, 600.dp), position = WindowPosition(200.dp, 100.dp) ) fun main() = application { Window( title = "Task Manager (Desktop)", state = state, onCloseRequest = ::exitApplication ) { App() } }Run the application. The desktop client should now reflect the changes:
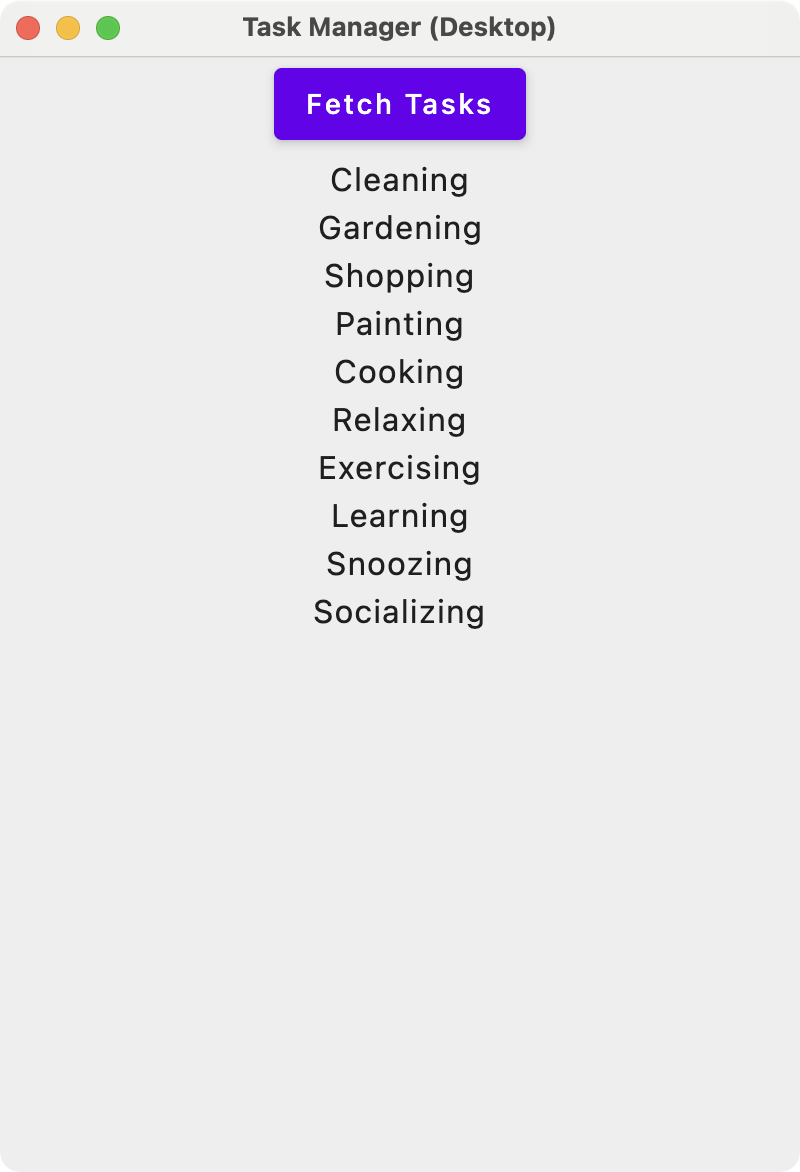
On the Android platform, you need to explicitly give the application networking permissions, and allow it to send and receive data in cleartext. To enable these permissions open composeApp/src/androidMain/AndroidManifest.xml and add the following settings:
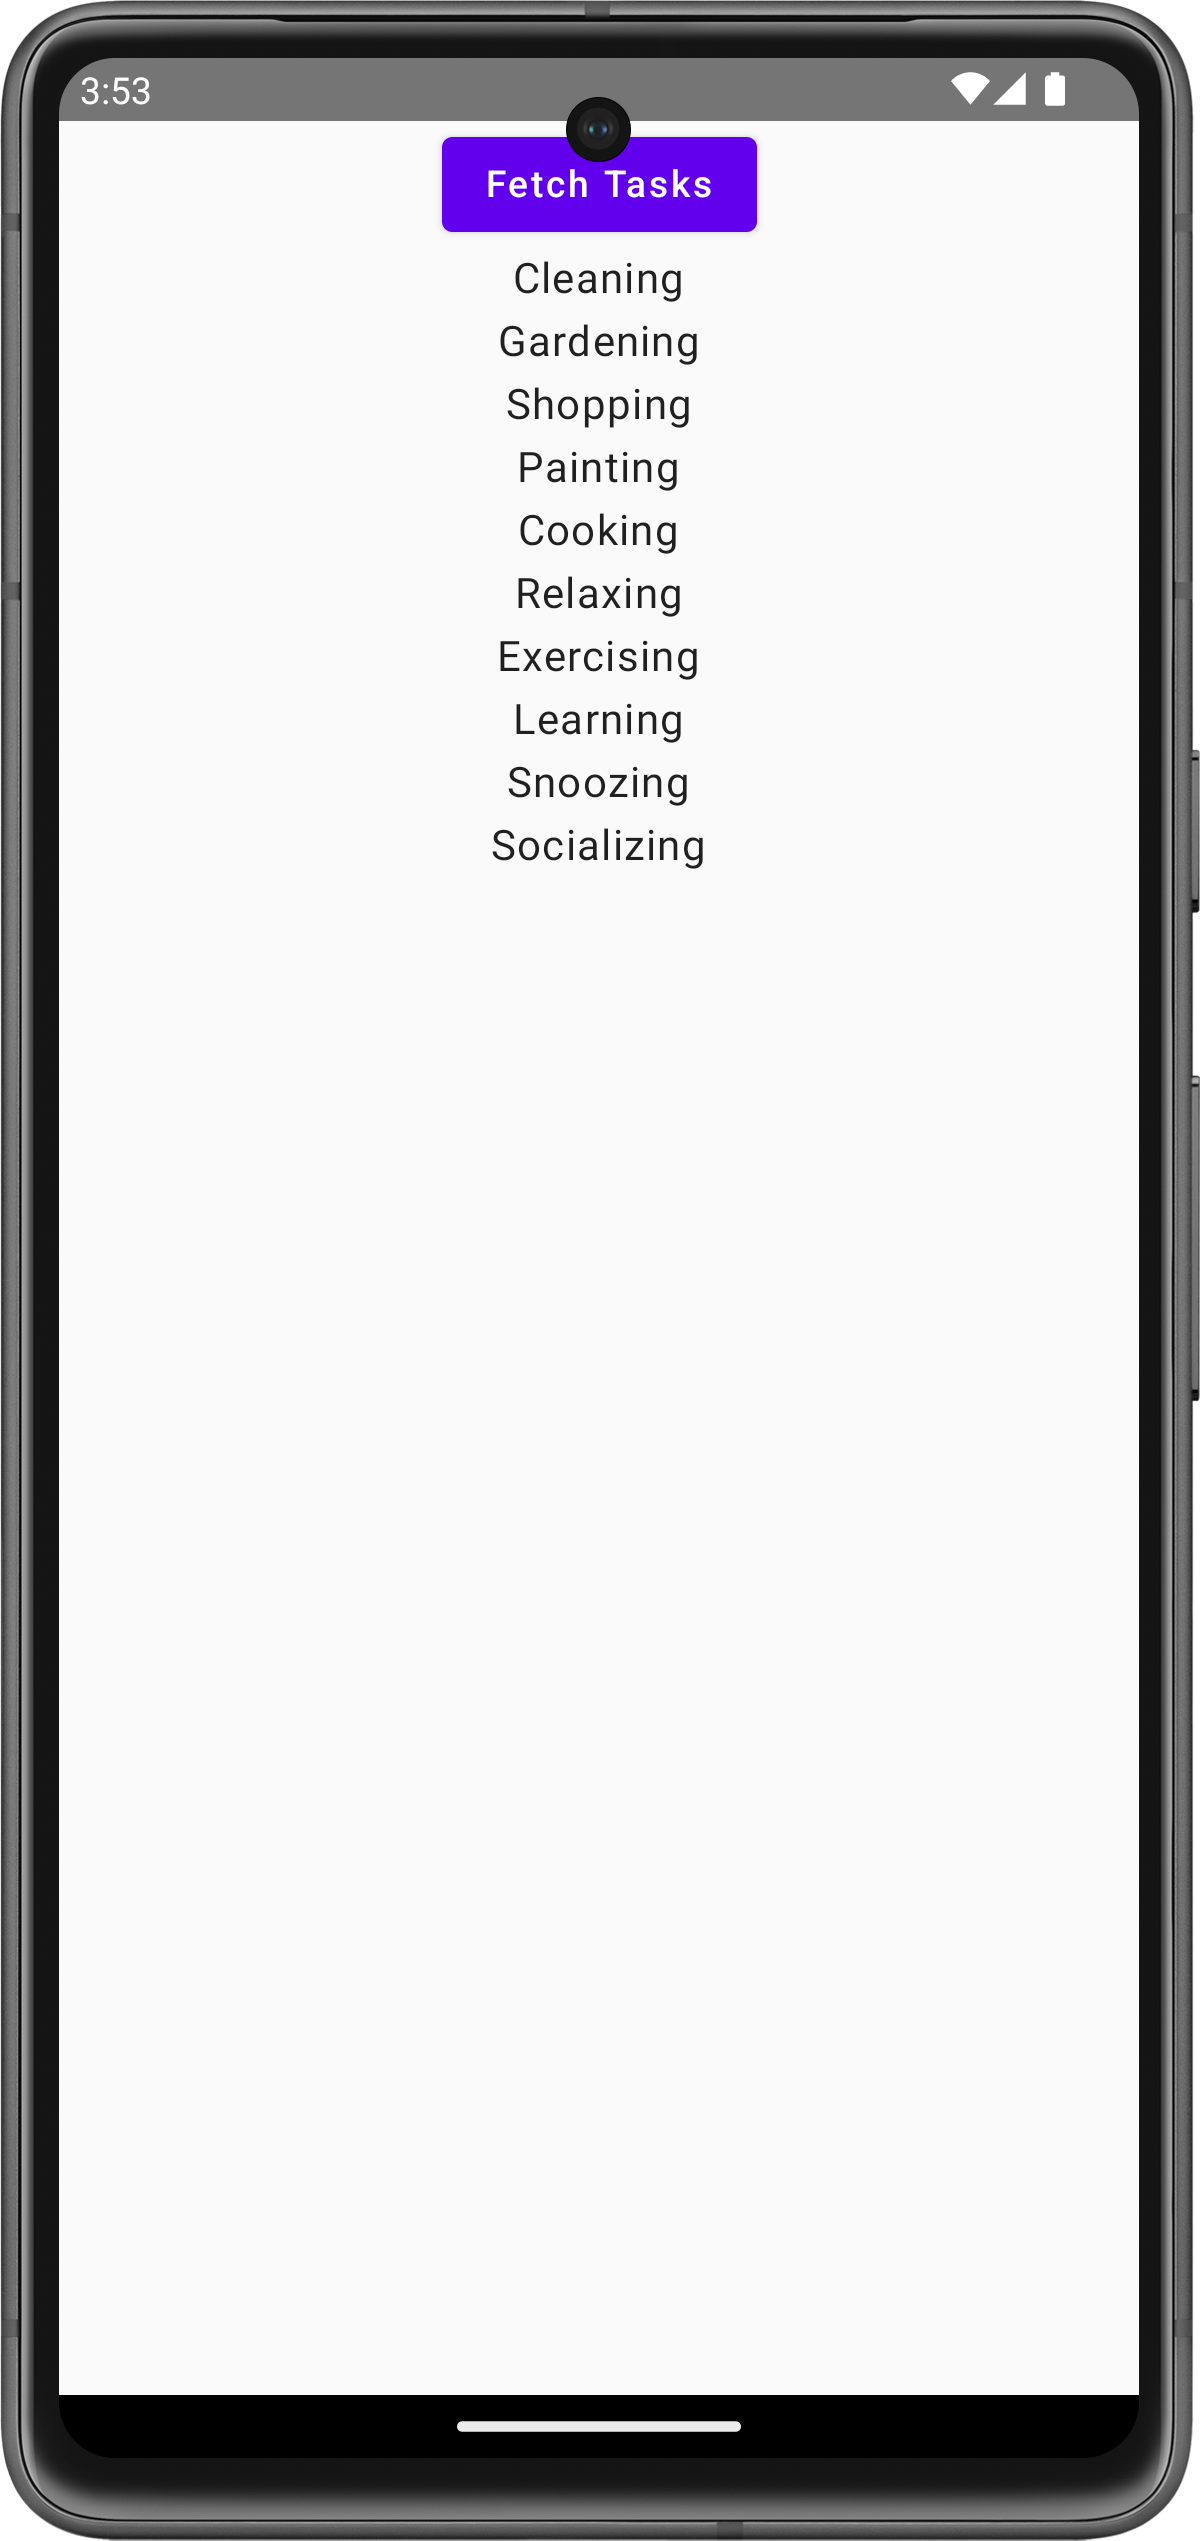
<manifest> ...> <application android:usesCleartextTraffic="true"> ...> ... </application> <uses-permission android:name="android.permission.INTERNET"/> </manifest>Run the application. You should now find that your Android client will run as well:
Improve the UI
The clients are now communicating with the server, but this is hardly a compelling user interface.
Open the App.kt file located in composeApp/src/commonMain/kotlin/org/example/ktor and replace the existing
Appwith theAppandTaskCardcomposables below:package org.example.ktor import Priority import Task import TaskApi import androidx.compose.foundation.layout.Column import androidx.compose.foundation.layout.Row import androidx.compose.foundation.layout.Spacer import androidx.compose.foundation.layout.fillMaxSize import androidx.compose.foundation.layout.fillMaxWidth import androidx.compose.foundation.layout.padding import androidx.compose.foundation.layout.width import androidx.compose.foundation.lazy.LazyColumn import androidx.compose.foundation.lazy.items import androidx.compose.foundation.shape.CornerSize import androidx.compose.foundation.shape.RoundedCornerShape import androidx.compose.material.Card import androidx.compose.material.MaterialTheme import androidx.compose.material.OutlinedButton import androidx.compose.material.Text import androidx.compose.material.TextField import androidx.compose.material.TextFieldDefaults import androidx.compose.runtime.* import androidx.compose.ui.Modifier import androidx.compose.ui.graphics.Color import androidx.compose.ui.text.font.FontWeight import androidx.compose.ui.unit.dp import androidx.compose.ui.unit.sp import androidx.compose.ui.window.Dialog import kotlinx.coroutines.launch @Composable MaterialTheme { val client = remember { TaskApi() } var tasks by remember { mutableStateOf(emptyList<Task>()) } val scope = rememberCoroutineScope() var currentTask by remember { mutableStateOf<Task?>(null) } currentTask = null } ) } LazyColumn(modifier = Modifier.fillMaxSize().padding(8.dp)) { items(tasks) { task -> TaskCard( task, onDelete = { scope.launch { tasks = client.getAllTasks() } }, onUpdate = { currentTask = task } ) } } } } @Composable fun TaskCard( task: Task, onDelete: (Task) -> Unit, onUpdate: (Task) -> Unit ) { fun pickWeight(priority: Priority) = when (priority) { Priority.Low -> FontWeight.SemiBold Priority.Medium -> FontWeight.Bold Priority.High, Priority.Vital -> FontWeight.ExtraBold } Card( modifier = Modifier.fillMaxWidth().padding(4.dp), shape = RoundedCornerShape(CornerSize(4.dp)) ) { Column(modifier = Modifier.padding(10.dp)) { Text( "${task.name}: ${task.description}", fontSize = 20.sp, fontWeight = pickWeight(task.priority) ) Row { OutlinedButton(onClick = { onDelete(task) }) { Text("Delete") } Spacer(Modifier.width(8.dp)) OutlinedButton(onClick = { onUpdate(task) }) { Text("Update")With this implementation, your client now has some basic functionality.
By using the
LaunchedEffecttype all tasks are loaded on startup, while theLazyColumncomposable allows the user to scroll through tasks.Finally, a separate
TaskCardcomposable is created, which in turn uses aCardto display the details of eachTask. Buttons have been added to delete and update the task.Rerun the application. You can now scroll through tasks, view their details, and delete them:
Add update functionality
To complete the client, you need to incorporate the functionality to update tasks.
Navigate to the App.kt file in composeApp/commonMain/kotlin/org/example/ktor.
Include the
UpdateTaskDialogcomposable below:@Composable fun UpdateTaskDialog( task: Task, onConfirm: (Task) -> Unit ) { var description by remember { mutableStateOf(task.description) } var priorityText by remember { mutableStateOf(task.priority.toString()) } val colors = TextFieldDefaults.textFieldColors( backgroundColor = Color.White, textColor = Color.Blue ) Dialog(onDismissRequest = {}) { Card( modifier = Modifier.fillMaxWidth().padding(4.dp), shape = RoundedCornerShape(CornerSize(4.dp)) ) { Column(modifier = Modifier.padding(10.dp)) { Text("Update ${task.name}", fontSize = 20.sp) TextField( value = description, onValueChange = { description = it }, label = { Text("Description") }, colors = colors ) TextField( value = priorityText, onValueChange = { priorityText = it }, label = { Text("Priority") }, colors = colors ) OutlinedButton(onClick = { val newTask = Task( task.name, description, try { Priority.valueOf(priorityText) } catch (e: IllegalArgumentException) { Priority.Low } ) onConfirm(newTask) }) { Text("Update") } } } } }This is a composable that displays the details of a
Taskwith a dialog box. Thedescriptionandpriorityare placed withinTextFieldcomposables so they can be updated. When the user presses the update button, it triggers theonConfirm()callback.Navigate back to the
Appcomposable and update the code as shown below:@Composable fun App() { MaterialTheme { val client = remember { TaskApi() } var tasks by remember { mutableStateOf(emptyList<Task>()) } val scope = rememberCoroutineScope() var currentTask by remember { mutableStateOf<Task?>(null) } LaunchedEffect(Unit) { tasks = client.getAllTasks() } if (currentTask != null) { UpdateTaskDialog( currentTask!!, onConfirm = { scope.launch { client.updateTask(it) tasks = client.getAllTasks() } currentTask = null } ) } LazyColumn(modifier = Modifier.fillMaxSize().padding(8.dp)) { items(tasks) { task -> TaskCard( task, onDelete = { scope.launch { client.removeTask(it) tasks = client.getAllTasks() } }, onUpdate = { currentTask = task } ) } } } }You are storing an additional piece of state, which is the current task selected. If this value is not null, then we invoke our
UpdateTaskDialogcomposable, with theonConfirm()callback set to send a POST request to the server using theTaskApi.Finally, when you are creating the
TaskCardcomposables, you use theonUpdate()callback to set thecurrentTaskstate variable.Re-run the client applciation. You should now be able to update the details of each task by using the buttons.
Next steps
In this article, you have used Ktor within the context of a Kotlin Multiplatform application. You can now create a project containing multiple services and clients, targeting a range of different platforms.
As you have seen, it is possible to build out features without any code duplication or redundancy. The types required in all layers of the project can be placed within the shared multiplatform module. Functionality which is only required by the services goes in the server module, whilst functionality only required by the clients is placed in composeApp.
This kind of development inevitably requires knowledge of both client and server technologies. But you can use Kotlin Multiplatform libraries and Compose Multiplatform to minimize the amount of new material you need to learn. Even if your focus is initially only on a single platform, you can easily add others as demand for your application grows.


