Getting started with a Ktor Client
Ktor includes a multiplatform asynchronous HTTP client, which allows you to make requests and handle responses, extend its functionality with plugins (formerly known as features), such as authentication, JSON serialization, and so on. In this tutorial, we'll create a simple client application for sending a request and receiving a response. We'll use IntelliJ IDEA to create the application.
Prerequisites
Before starting this tutorial:
Make sure the Kotlin plugin is installed and enabled. Learn how to do this from the Manage plugins topic.
Create a new Gradle project
To try out a Ktor client in action, we'll create a Gradle project. Open IntelliJ IDEA, and follow the steps below:
If the Welcome screen opens, click New Project.
Otherwise, from the main menu, select .
In the New Project wizard, choose Gradle from the list on the left.
On the right pane, specify the following settings:
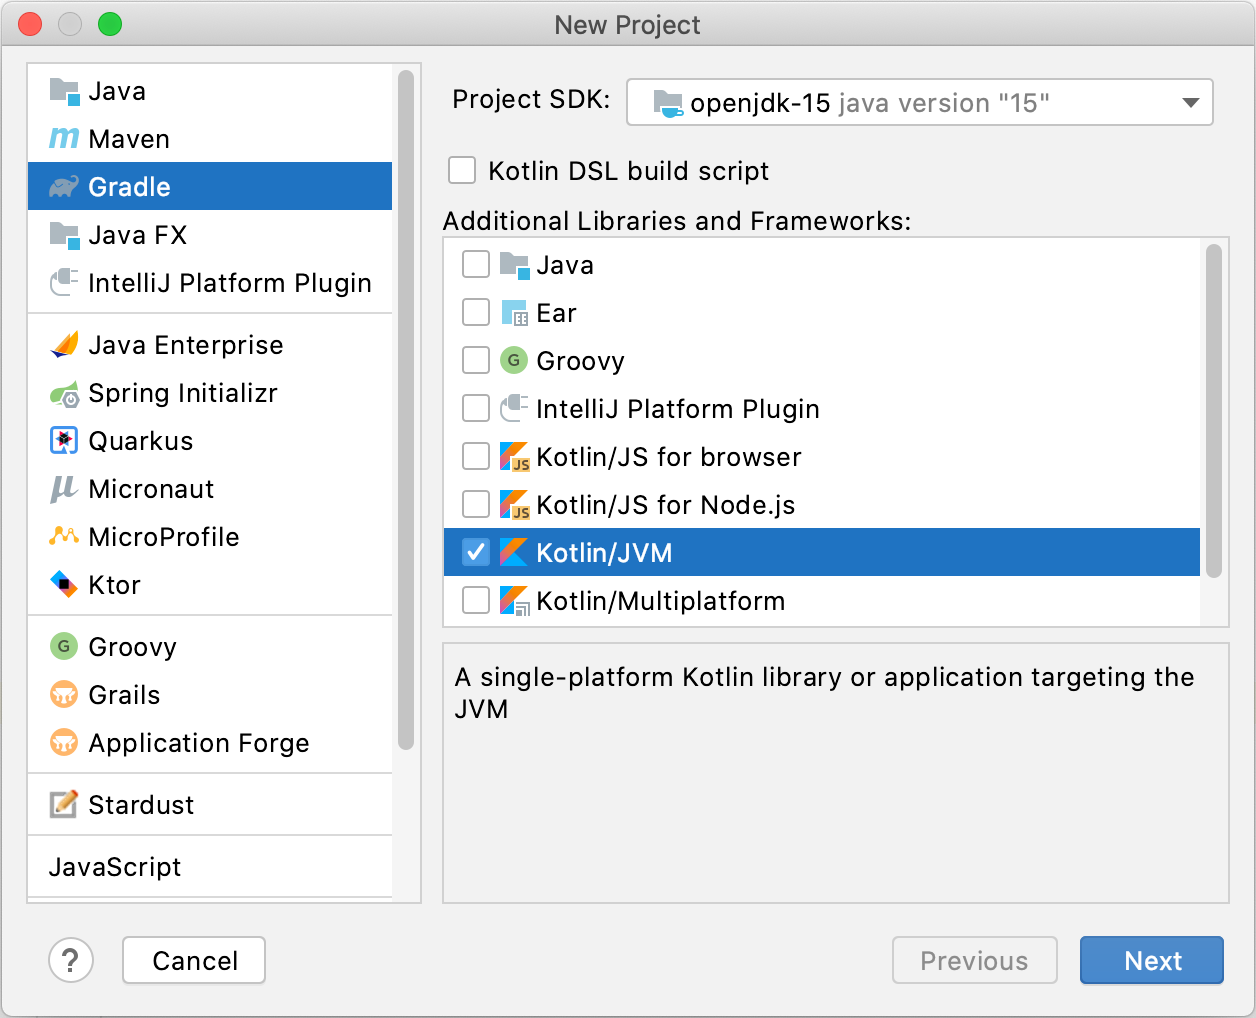
Choose the Project SDK from the list.
(Optional) Enable the Kotlin DSL build script option to use Kotlin instead of Groovy DSL.
Select Kotlin/JVM in the Additional Libraries and Frameworks area.
Click Next.
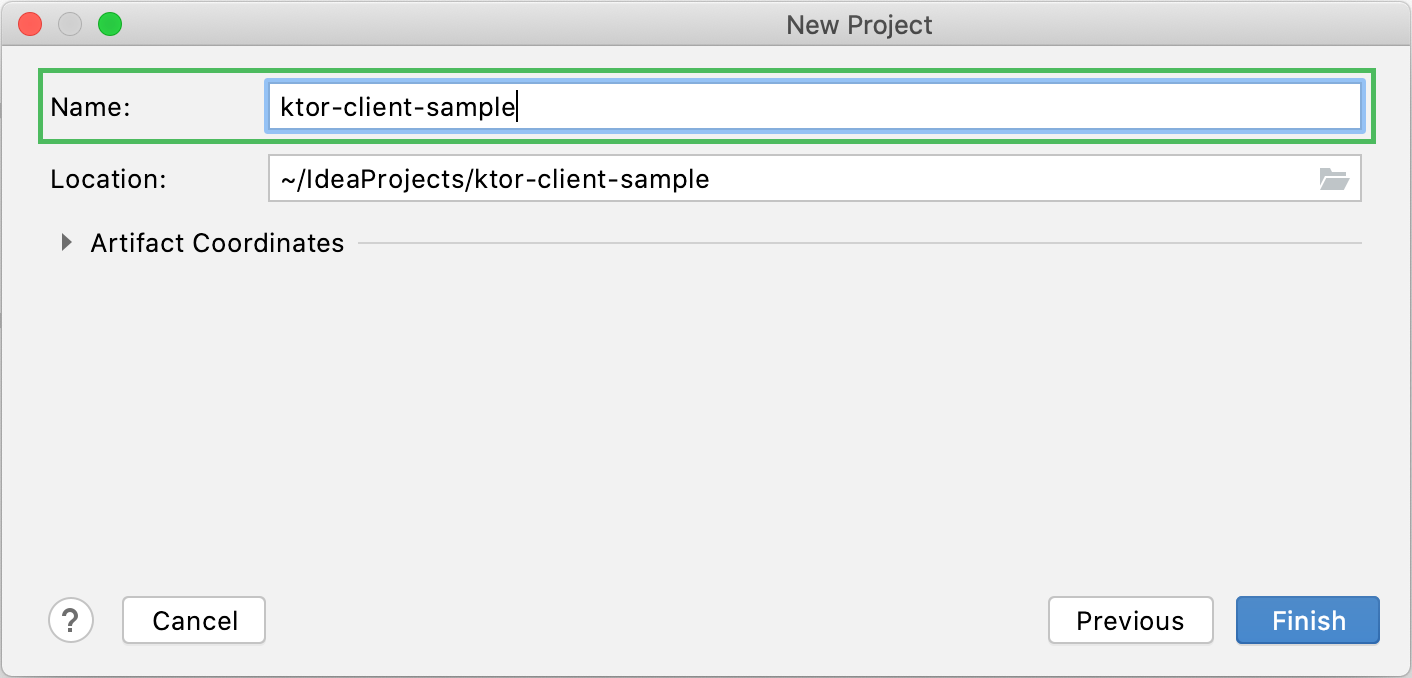
On the next wizard page, specify the project name and click Finish.
Wait until IntelliJ IDEA creates and builds a project.

Add dependencies
The next thing we need is to install dependencies required for a Ktor client.
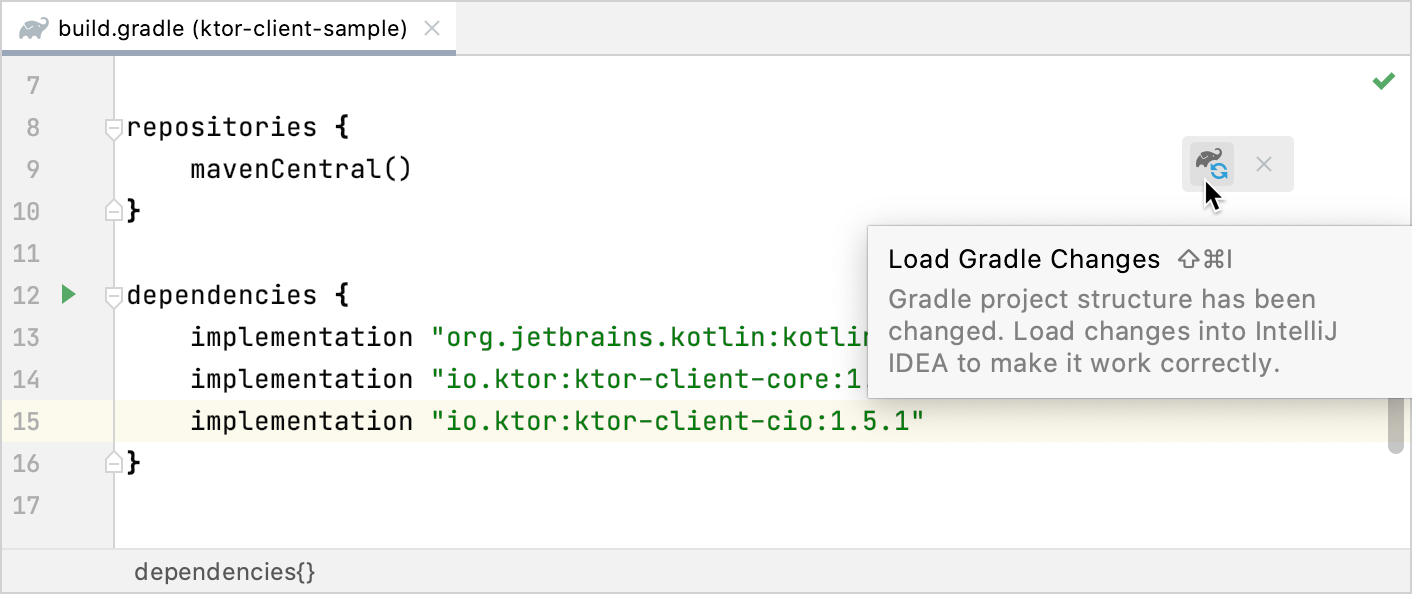
Open the build.gradle or build.gradle.kts file and add the following artifacts to the dependencies block:
dependencies { implementation "io.ktor:ktor-client-core:1.6.8" implementation "io.ktor:ktor-client-cio:1.6.8" }dependencies { implementation("io.ktor:ktor-client-core:1.6.8") implementation("io.ktor:ktor-client-cio:1.6.8") }ktor-client-coreis a core dependency that provides the main client functionality, whilektor-client-ciois a dependency for an engine processing network requests.Click the Load Gradle Changes icon at the top right corner of the build.gradle/build.gradle.kts file to install newly added dependencies.
Create the Application.kt file
Now we are ready to create a client.
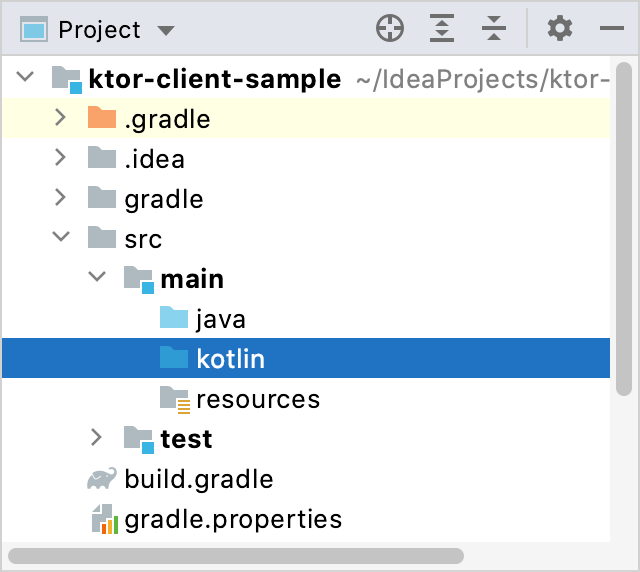
Invoke the Project view and expand the src/main folder.
Right-click the kotlin folder and choose .
Specify a file name in the invoked popup and press Enter to create a Kotlin file.
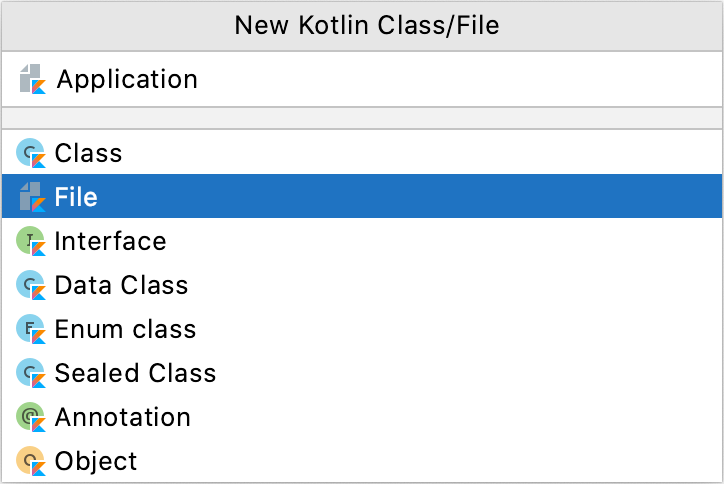
This will be Application.kt file in our case.
Create a client
Now we can add a client's code to the created Kotlin file.
Add the following code to the Application.kt file:
import io.ktor.client.* import io.ktor.client.engine.cio.* fun main() { val client = HttpClient(CIO) }A client is represented by the HttpClient class.
To make a request to a specific URL, we need to call a client's method corresponding to an HTTP verb, for example,
HttpClient.get. A response will be received as aHttpResponseclass object.import io.ktor.client.* import io.ktor.client.engine.cio.* import io.ktor.client.request.* import io.ktor.client.statement.* fun main() { val client = HttpClient(CIO) val response: HttpResponse = client.get("https://ktor.io/") }After adding the code above, the IDE shows the following error for the
getfunction: Suspend function 'get' should be called only from a coroutine or another suspend function.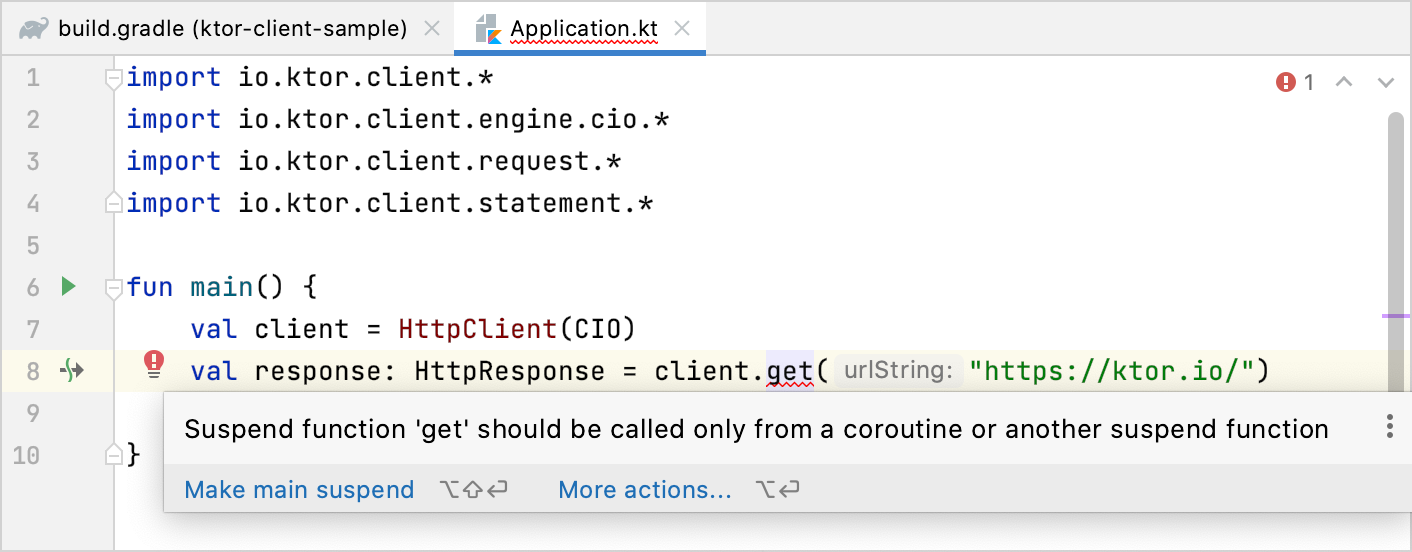
You can learn more about calling suspending functions from Coroutines basics. In the next step, we'll make our
mainfunction suspending to fix this issue.Click the red bulb and choose Make main suspend.
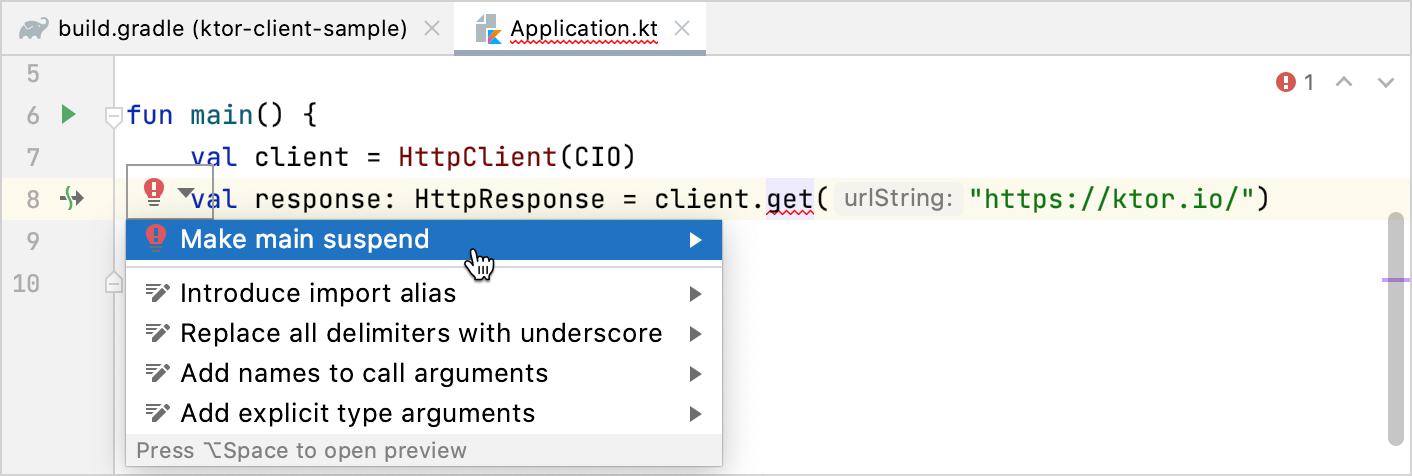
Finally, add
printlnto print a status code returned by a server. Note that you also need to release resources holding by a client using theclosemethod. Our Application.kt file should look in the following way:import io.ktor.client.* import io.ktor.client.engine.cio.* import io.ktor.client.request.* import io.ktor.client.statement.* suspend fun main() { val client = HttpClient(CIO) val response: HttpResponse = client.get("https://ktor.io/") println(response.status) client.close() }In the next section, we'll run our program and make a request.
Run a program and make a request
Now we are ready to run our program a make a request.
Click the gutter icon next to the
mainfunction and choose Run 'ApplicationKt'.
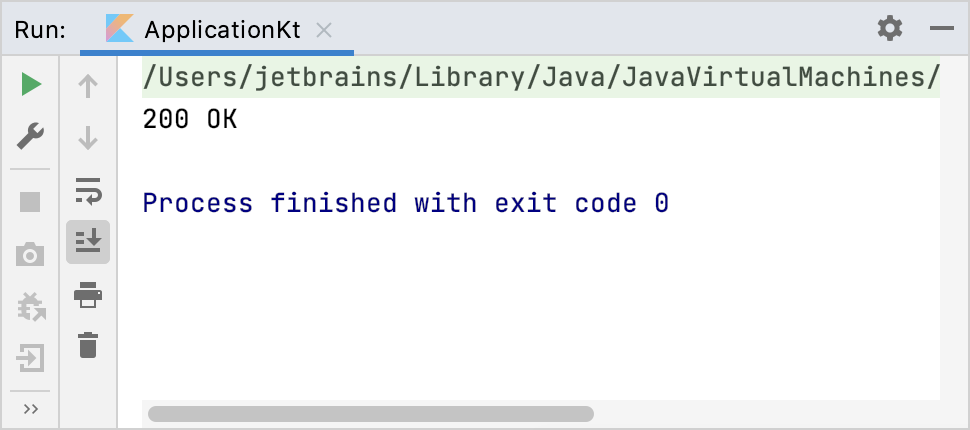
Wait until Intellij IDEA runs the application. A server should respond with the
200 OK(hopefully!) message.