Docker Compose
In this topic, we'll show you how to run a server Ktor application under Docker Compose. We'll be using a project created in the Integrate a Database tutorial, which uses Exposed to connect to a PostgreSQL database where the database and the web application run separately.
Get the application ready
Extract database settings
The project created in the Integrate a Database tutorial uses hardcoded attributes to establish a database connection.
Let's extract connection settings for the PostgreSQL database to a custom configuration group.
Open the application.yaml file in src/main/resources and add the
storagegroup outside thektorgroup as follows:ktor: application: modules: - com.example.ApplicationKt.module deployment: port: 8080 storage: driverClassName: "org.postgresql.Driver" jdbcURL: "jdbc:postgresql://localhost:5432/ktor_tutorial_db" user: "postgres" password: "password"These settings will be configured later in the compose.yml file.
Open the Databases.kt file in src/main/kotlin/com/example/plugins/ and update the
configureDatabases()function to load storage settings from the configuration file:fun Application.configureDatabases(config: ApplicationConfig) { val url = config.property("storage.jdbcURL").getString() val user = config.property("storage.user").getString() val password = config.property("storage.password").getString() Database.connect( url, user = user, password = password ) }The
configureDatabases()function now acceptsApplicationConfigand usesconfig.propertyto load custom settings.Open the Application.kt file in src/main/kotlin/com/example/ and pass
environment.configtoconfigureDatabases()to load connection settings on application startup:fun Application.module() { val repository = PostgresTaskRepository() configureSerialization(repository) configureDatabases(environment.config) configureRouting() }
Configure the Ktor plugin
In order to run on Docker, the application needs to have all the required files deployed to the container. Depending on the build system you're using, there are different plugins to accomplish this:
In our example, the Ktor plugin is already applied in the build.gradle.kts file.
Configure Docker
Prepare the Docker image
To dockerize the application, create a new Dockerfile in the root directory of the project and insert the following content:
Configure Docker Compose
In the root directory of the project, create a new compose.yml file and add the following content:
The
webservice is used to run the Ktor application packaged inside the image.The
dbservice uses thepostgresimage to create thektor_tutorial_dbdatabase for storing tasks.
Build and run services
Run the following command to create the fat JAR containing your Ktor application:
./gradlew :tutorial-server-docker-compose:buildFatJarUse the
docker compose upcommand to build the images and start containers:docker compose --project-directory snippets/tutorial-server-docker-compose upWait until Docker Compose has finished building the images.
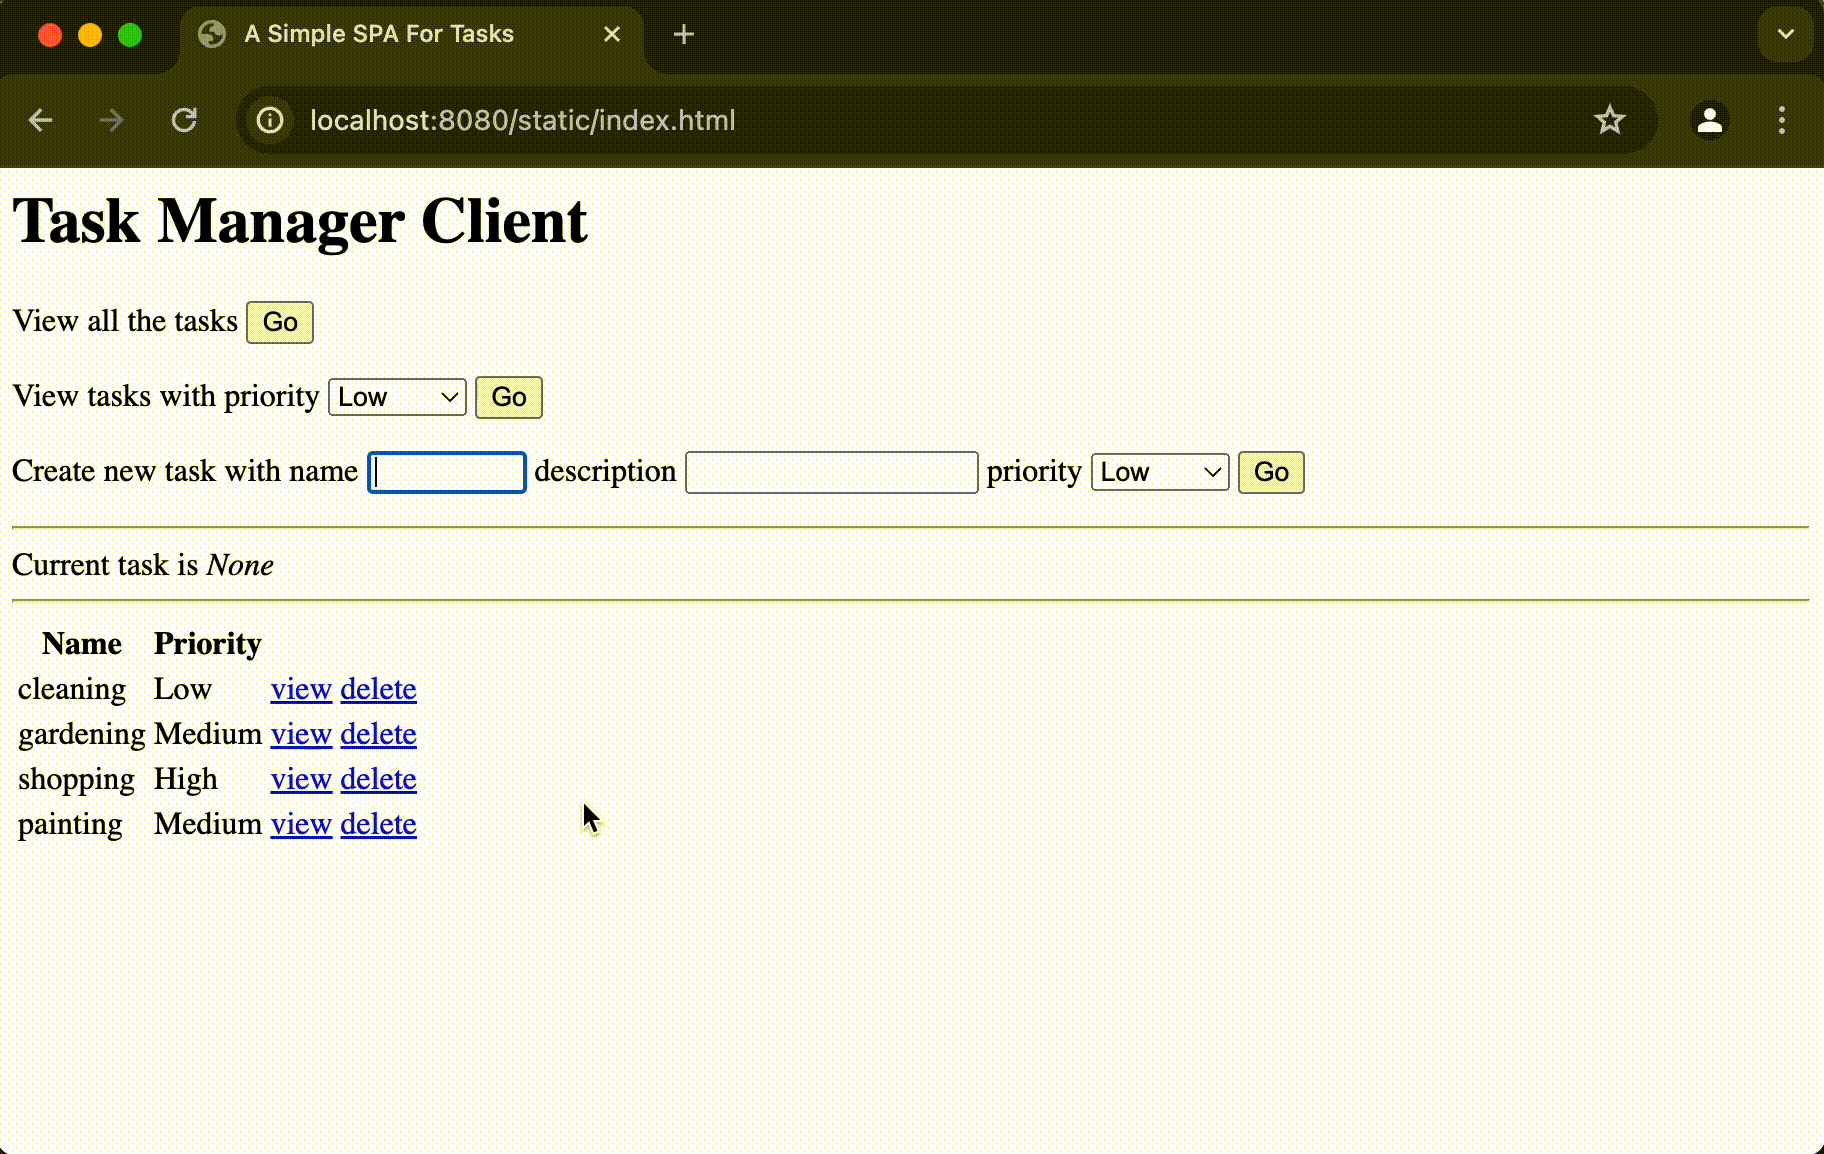
Navigate to http://localhost:8080/static/index.html to open the web application. You should see the Task Manager Client page displaying three forms for filtering and adding new tasks,as well as a table of tasks.