Creating a new Ktor project
Ktor is an asynchronous framework for creating microservices, web applications, and more. You can create and configure a new Ktor project using a dedicated plugin for IntelliJ IDEA Ultimate, or using a web-based project generator. In this guide, we'll show you how to create, run, and test a simple Ktor application.
Prerequisites
Before starting this tutorial:
Make sure the Ktor plugin is installed and enabled.
Create a new Ktor project
This section describes project setup using the Ktor plugin for Intellij IDEA Ultimate. If you are using IntelliJ IDEA Community Edition, use the Ktor Project Generator instead.
To create a new Ktor project, open IntelliJ IDEA, and follow the steps below:
On the Welcome screen, click New Project.
Otherwise, from the main menu, select .
In the New Project wizard, choose Ktor from the list on the left.
On the right pane, you can specify the following settings:

Name: Specify a project name.
Location: Specify a directory for your project.
Build System: Choose the desired build system. This can be Gradle with Kotlin or Groovy DSL, or Maven.
Website: Specify a domain used to generate a package name.
Artifact: This field shows a generated artifact name.
Ktor version: Choose the required Ktor version.
Engine: Select an engine used to run a server.
Configuration in: Choose Code to specify server parameters in code.
Add sample code: Leave this option enabled to add sample code for plugins added on the next page.
In this tutorial, we leave the default values for these settings. Click Next to go to the next page.
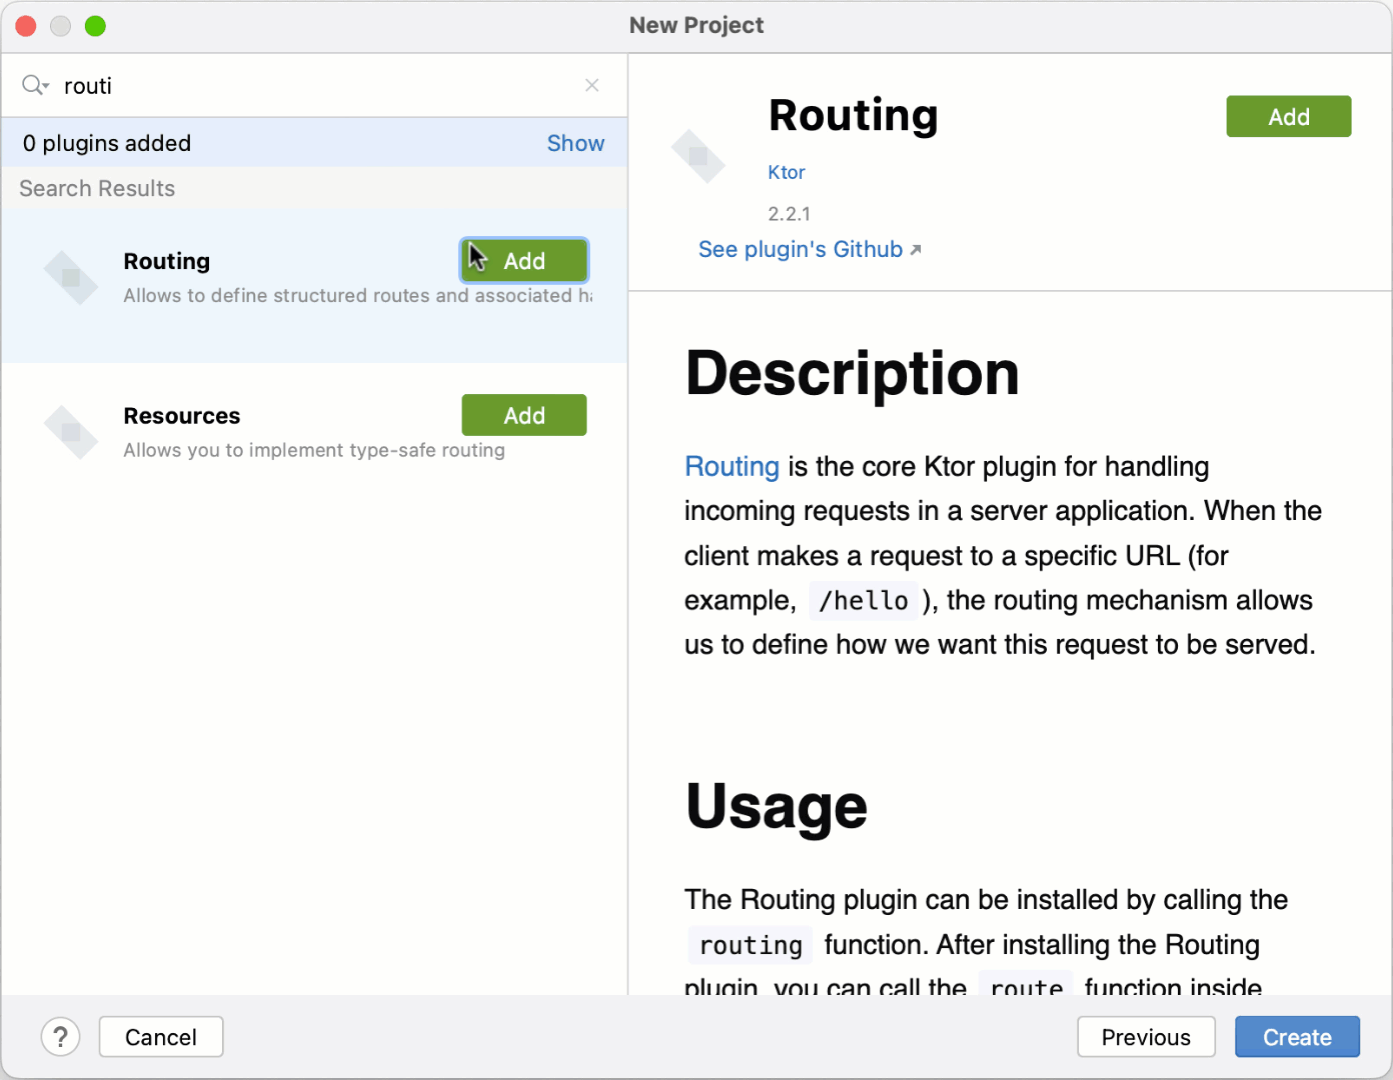
On the next page, you can choose a set of plugins - building blocks that provide common functionality of a Ktor application, for example, authentication, serialization and content encoding, compression, cookie support, and so on.

For now, let's install only the Routing plugin to handle incoming requests. Start typing routing in the top left search box, find Routing in the list, and click Add.
Click Create and wait until IntelliJ IDEA generates a project and installs the dependencies.
Now we are ready to run the created application.
Run a Ktor application
To run the created Ktor application, follow the steps below:
Invoke the Project view and open the Application.kt file placed by the following path:
src/main/kotlin/com/example/Application.kt

The Application.kt file has the following code added automatically:
package com.example import io.ktor.server.application.* import io.ktor.server.engine.* import io.ktor.server.netty.* import com.example.plugins.* fun main() { embeddedServer(Netty, port = 8080, host = "0.0.0.0", module = Application::module) .start(wait = true) } fun Application.module() { configureRouting() }The main parts of this code are:
The embeddedServer function is used to configure server parameters in code and run an application.
configureRoutingis an extension function that defines routing. This function is declared in a separatepluginspackage (the Routing.kt file).package com.example.plugins import io.ktor.server.routing.* import io.ktor.http.* import io.ktor.server.application.* import io.ktor.server.response.* import io.ktor.server.request.* fun Application.configureRouting() { routing { get("/") { call.respondText("Hello World!") } } }The
getfunction within theroutingblock receives GET requests made to the / path and responds with a plain text response.
To run the application, click the gutter icon next to the
mainfunction and choose Run 'ApplicationKt'.
Wait until Intellij IDEA runs the application. The Run tool window should show the following message:
[main] INFO ktor.application - Responding at http://0.0.0.0:8080
This means that the server is ready to accept requests at the http://0.0.0.0:8080 address. You can click this link to open the application in a default browser:

Test a Ktor application
Now let's test the created application:
Open the ApplicationTest.kt file placed by the following path: src/test/kotlin/com/example/ApplicationTest.kt. In this file, the testApplication function is used to make the GET request to / and check a response status and content.
To run a test, click the gutter icon next to the
testRootfunction and choose Run 'ApplicationTest.test'.
Wait until IntelliJ IDEA performs a test and displays results in the Run tool window.

Next steps
Create real-world Ktor applications with the help of tutorials: