Creating an interactive website
In this hands-on tutorial we're going to create an interactive website using Kotlin and Ktor, a framework for building connected applications.
Using the different plugins (formerly known as features) and integrations provided by Ktor, we will see how to host static content like images and HTML pages. We will see how supported HTML templating engines like Freemarker make it easy to control how data from our application is rendered in the browser. By using kotlinx.html, we'll learn about a domain-specific language that allows us to mix Kotlin code and markup directly, allowing us to write our site's display logic in pure Kotlin.
What we will build
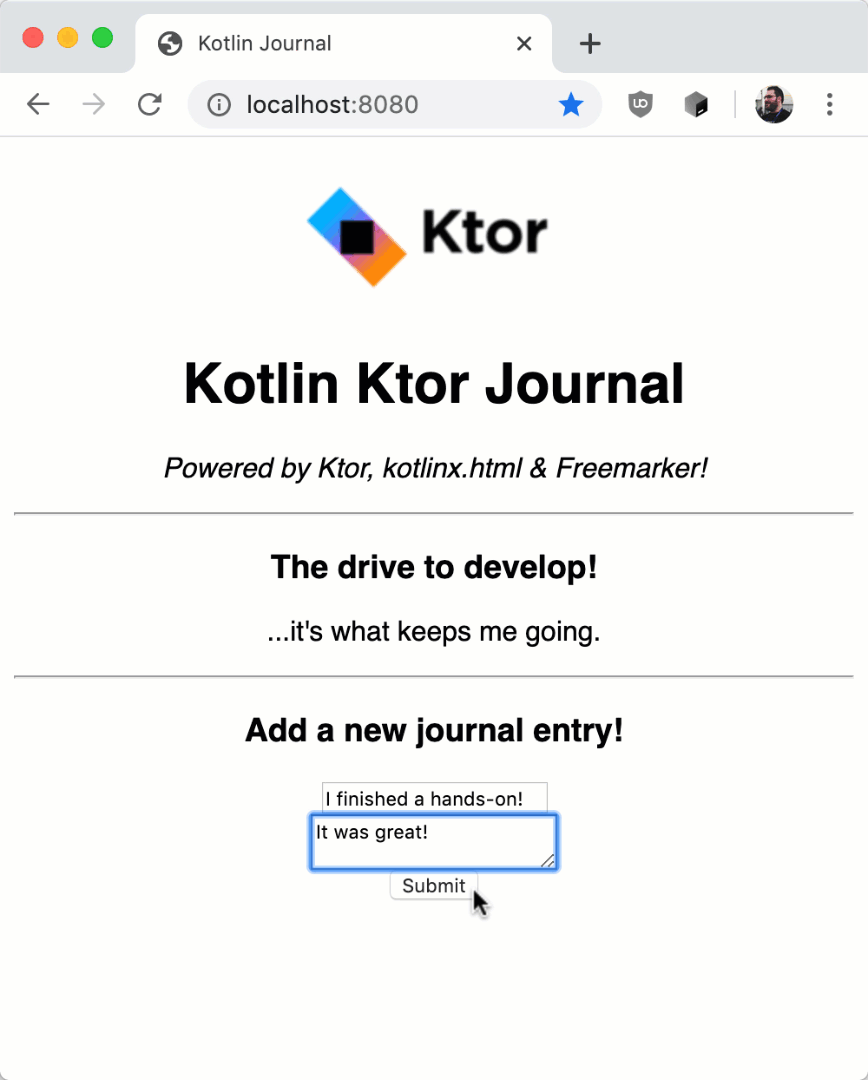
The goal of this hands-on is to write a minimal journal app. We'll start by seeing how Ktor can serve static files and pages, and then move on to dynamically rendering Kotlin objects representing blog entries in a nicely formatted fashion, making use of our template engine. To make things interactive, we will add the ability to submit new entries to our journal directly from the browser – leaving us with a nice way to temporarily store and view our thoughts, for example our opinion on working through this hands-on tutorial:

You can find the template project as well as the source code of the final application on the corresponding GitHub repository.
Let's dive right in and start setting up our project for development!
Project Setup
If we were to start a fresh idea from zero, Ktor would have a few ways of setting up a preconfigured Gradle project: start.ktor.io and the Ktor IntelliJ IDEA plugin make it easy to create a starting-off point for projects using a variety of plugins from the framework.
For this tutorial, however, we have made a starter template available that includes all configuration and required dependencies for the project.
Please clone the project repository from GitHub, and open it in IntelliJ IDEA.
The template repository contains a basic Gradle projects for us to build our project. Because it already contains all dependencies that we will need throughout the hands-on, you don't need to make any changes to the Gradle configuration.
It is still beneficial to understand what artifacts are being used for the application, so let's have a closer look at our project template and the dependencies and configuration it relies on.
Dependencies
For this hands-on, the dependencies block in our build.gradle file is probably the most interesting part:
Let's briefly go through these dependencies one-by-one:
ktor-server-coreadds Ktor's core components to our project.ktor-server-nettyadds the Netty engine to our project, allowing us to use server functionality without having to rely on an external application container.ktor-freemarkerallows us to use the FreeMarker template engine, which we'll use to create the main page of our journal.ktor-html-builderadds the ability to use kotlinx.html directly from within the code. We'll use it to create code that can mix Kotlin logic with HTML markup.logback-classicprovides an implementation of SLF4J, allowing us to see nicely formatted logs in our console.
Configurations: application.conf and logback.xml
The repository also includes a basic application.conf in HOCON format. Ktor uses this file to determine the port on which it should run, and it also defines the entry point of our application to be com.jetbrains.handson.website.ApplicationKt.module. This corresponds to the Application.module() function in Application.kt, which we'll start modifying in the next section. If you'd like to learn more about how a Ktor server is configured, check out the Configuration topic.
Also included is a logback.xml in the resources folder, which sets up the basic logging structure for our server. If you'd like to learn more about logging in Ktor, check out the Logging topic.
Now that we are equipped with some knowledge around all the artifacts we have at our fingertips, we can start by actually writing the first part of our journal app!
Static files and pages
Before we dive into making a dynamic application, let's start by doing something a bit easier, but probably just as important – let's get Ktor to serve some static files.
In the context of our journal, there are a number of things that we probably want to serve as static files – one example being a header image (a logo that identifies our site). Luckily for us, the template repository already has a PNG file included which we can use: ktor.png inside the folder src/main/resources/files:

For serving static content, we can use a specific routing function already built in to Ktor named static. The function takes two parameters: the route under which the static content should be made available, and a lambda where we can define the location from where the content should be served. In the file called Application.kt, let's change the implementation for Application.module() to look like this:
This instructs Ktor that everything under the URL /static should be served using the files directory inside resources.
Running our application for the first time
Seeing is believing – so lets see if our application is performing as expected! We can run our application by pressing the green "play" button next to fun main(...) in our Application.kt. IntelliJ IDEA will start the application, and after a few seconds, we should see the confirmation that the app is running:
[main] INFO Application - Responding at http://0.0.0.0:8080
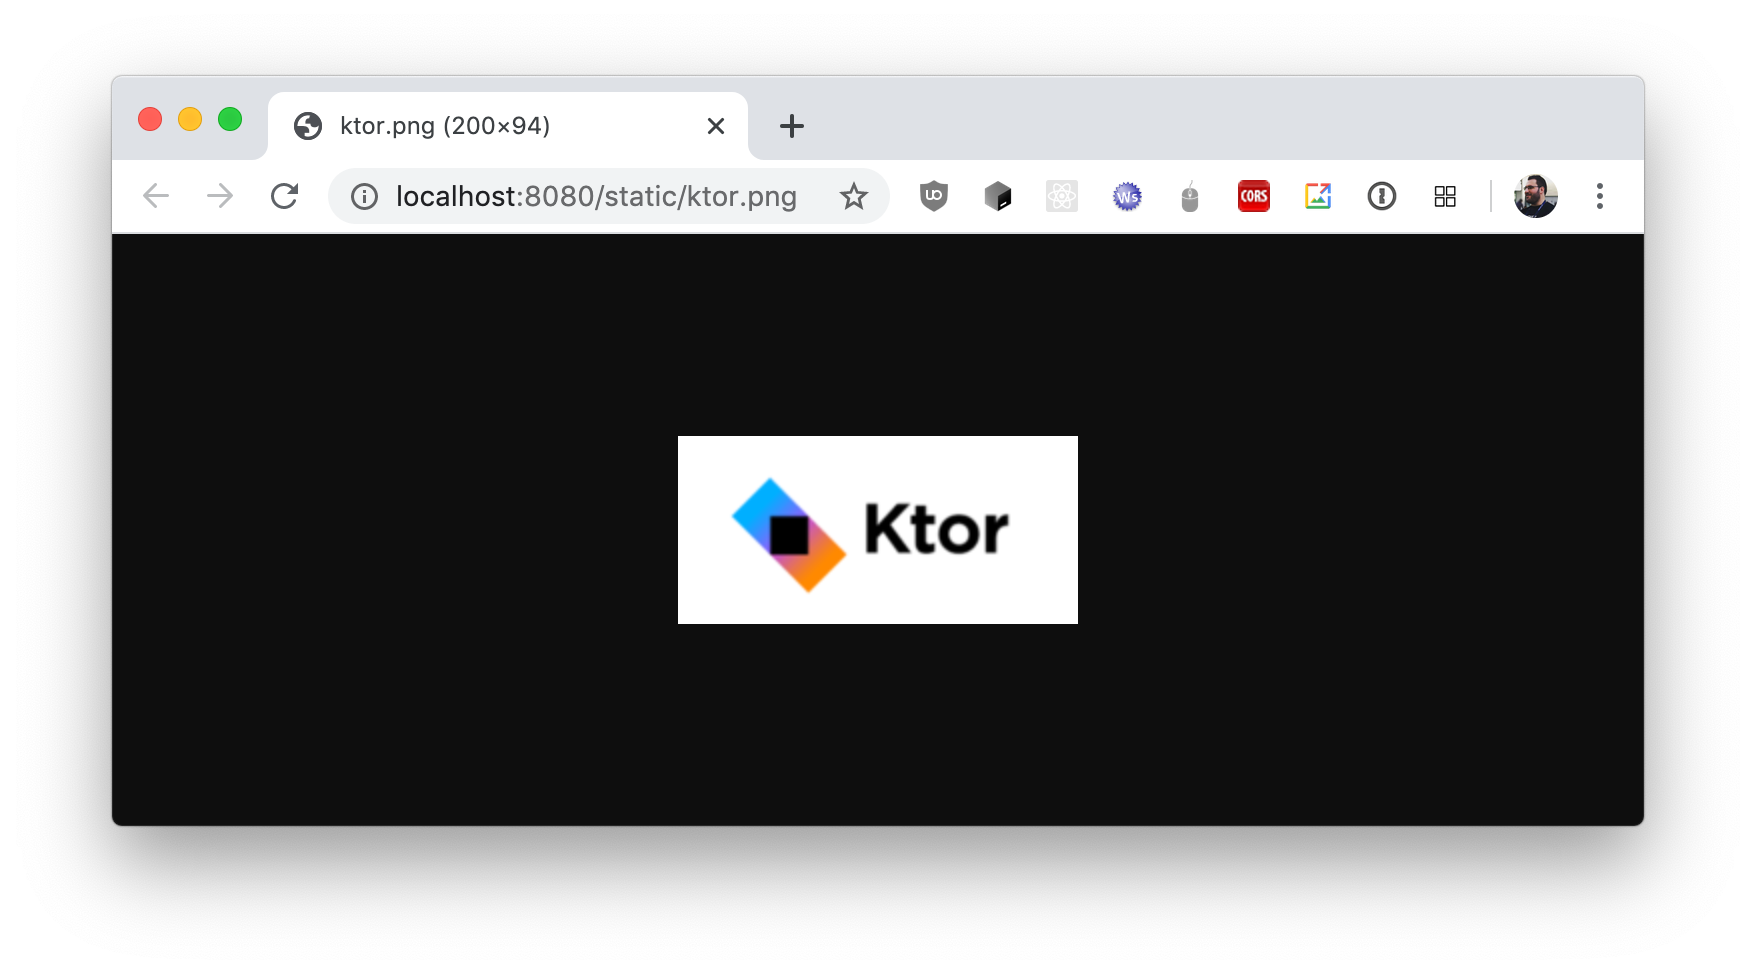
Let's open http://localhost:8080/static/ktor.png in a browser. We see that Ktor serves the static file:

Of course, we are not limited to images – HTML files, or CSS and JavaScript would work just as well. We can take advantage of this fact to add a small "About me" page as a first real part of our journal application – a static page that can contain some information about us, this project, or whatever else we might fancy.
To do so, let's create a new file inside src/main/resources/files/ called aboutme.html, and fill it with the following contents:
If we re-run the application and navigate to http://localhost:8080/static/aboutme.html, we can see our first page in all its glory. As you can see, we can even reference other static files – like ktor.png – inside this HTML.

Of course, we could also organize our files in subdirectories inside files; Ktor will automatically take care of mapping these paths to the correct URLs.
If you'd like to learn more about serving static files with Ktor, check out the Serving static content help topic.
However, a static page that contains a few paragraphs can hardly be called a journal yet. Let's move on and learn about how templates can help us in writing pages that contain dynamic content, and how to control them from within our application.
Home page with templates
It's time to build the main page of our journal which is in charge of displaying multiple journal entries. We will create this page with the help of a template engine. Template engines are quite common in web development, and Ktor supports a variety of them. In our case we're going to choose FreeMarker.
Adding FreeMarker as a Ktor plugin
Plugins are a mechanism that Ktor provides to enable support for certain functionality, such as encoding, compression, logging, authentication, among others. While the implementation details of Ktor plugins (acting as interceptors / middleware providing extra functionality) aren't relevant for this hands-on tutorial, we will use this mechanism to install the FreeMarker plugin, by adding the following lines to the top of our Application.module() definition in the Application.kt file:
In the configuration block for the FreeMarker plugin, we're passing two parameters:
The
templateLoadersetting tells our application that FreeMarker templates will be located in thetemplatesdirectory inside our applicationresources:
The
outputFormatsetting helps convert control characters provided by the user to their corresponding HTML entities. This ensures that when one of our journal entries contains a String like<b>Hello</b>, it is actually printed as<b>Hello</b>, not Hello. This so-called escaping is an essential step in preventing XSS attacks.
Now that Ktor knows where to find our FreeMarker templates, we can start writing the template for the journal main page.
Writing the journal template
Our journal main page should contain everything we need for a basic overview of our journal: a title, header image, a list of journal entries, and a form for adding new journal entries. To define this page layout, we use the FreeMarker Template Language (ftl), which contains our HTML source as well as FreeMarker variable definitions and instructions on how to use the variables in the context of the page.
Let's create a file called index.ftl in the resources/templates directory and fill it with the following content:
As you can see, we are using FTL syntax to define, access and iterate over variables. The variable entries which we loop over has the type kotlin.collections.List<com.jetbrains.handson.website.BlogEntry>. This is simply the fully-qualified name of a Kotlin List<BlogEntry>. However, we haven't created the BlogEntry class yet, but now that we are referencing it, it seems like a good time to fix that!
If you'd like to learn more about FreeMarker's syntax, check out their official documentation.
Defining a model for the journal entries
As defined by our usage in the FreeMarker template, the BlogEntry class needs two attributes: a headline and a body, both of type String. Let's create a file named BlogEntry.kt next to Application.kt, and fill it with the corresponding Kotlin data class, which can then be injected into the template:
It would also make sense if we defined a temporary storage for our entries. We can do this in the same file as a top-level declaration:
At this point, we have defined a template and the model that will be used for rendering it. Now, Ktor just needs to pass our stored journal entries and serve the resulting page.
Serving the templated content
The overview page we just templated is the center point of our application. So, it would make sense to make it available under the / route. Let's add a route for it to the routing block inside our Application.module():
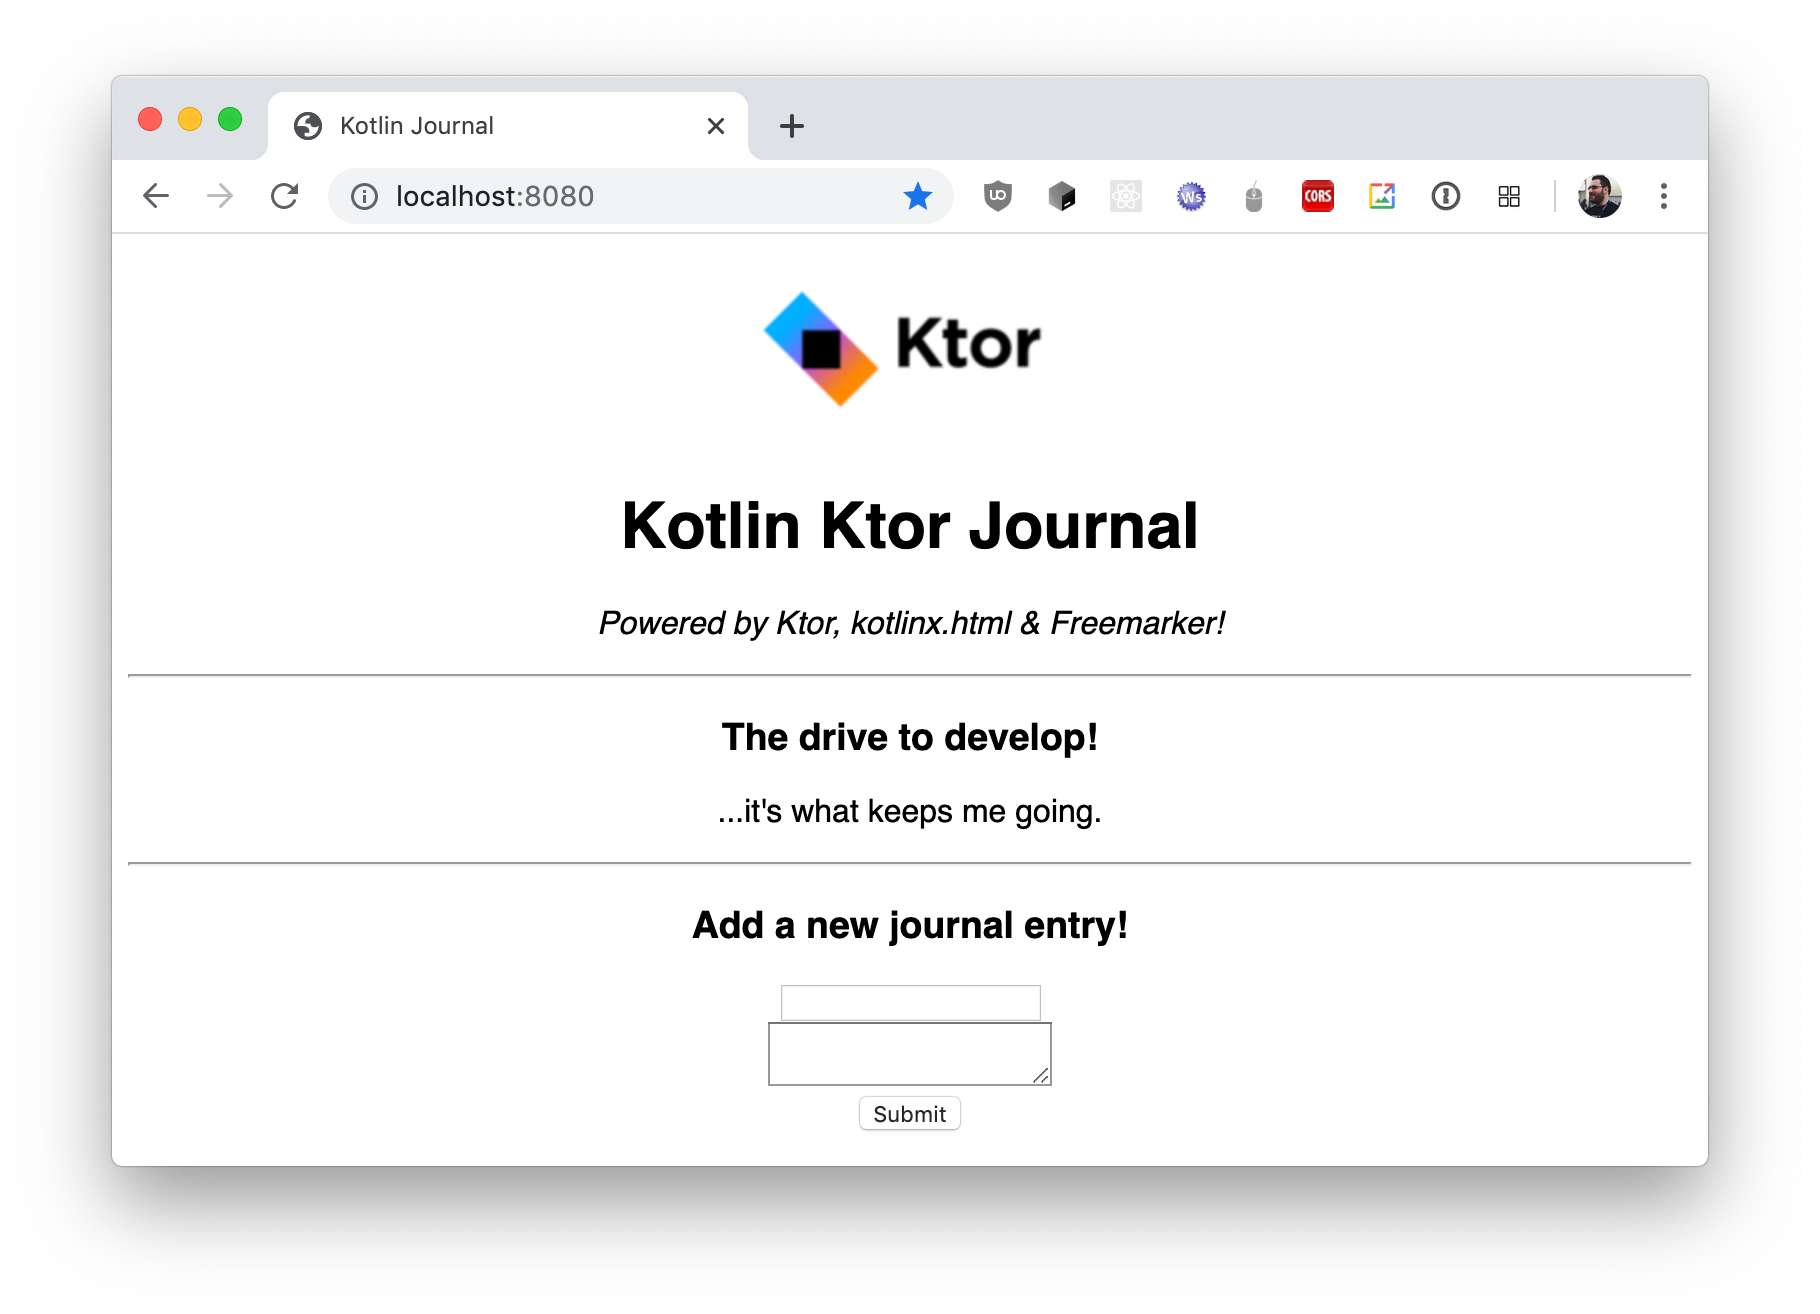
We can now run the application. Opening http://localhost:8080/ in a browser, we should see our header image, headline and subtitle, and a list of journal entries (well, just one for now) alongside a form for submitting new entries:

Looks like our display logic is working just fine! Now, we only need to make the "Submit" button work, and we'll be able to view and add new entries for our journal!
Form submission and kx.html
The <form> we defined in the previous chapter sends a POST request to /submit containing the headline and body of our new journal entry. Let's make our application correctly consume this information and submission of new journal entries! We define a handler for the /submit route inside our Application.module()'s routing block like this:
receiveParameters allows us to parse form data (for both urlencoded and multipart). We then extract the headline and body fields from the form, ensuring they are both not null, and create a new BlogEntry object from this information, adding it to the beginning of our blogEntries list.
For more detailed information on the fancy features that are available in the context of Ktor's request model, check out the Handling requests topic.
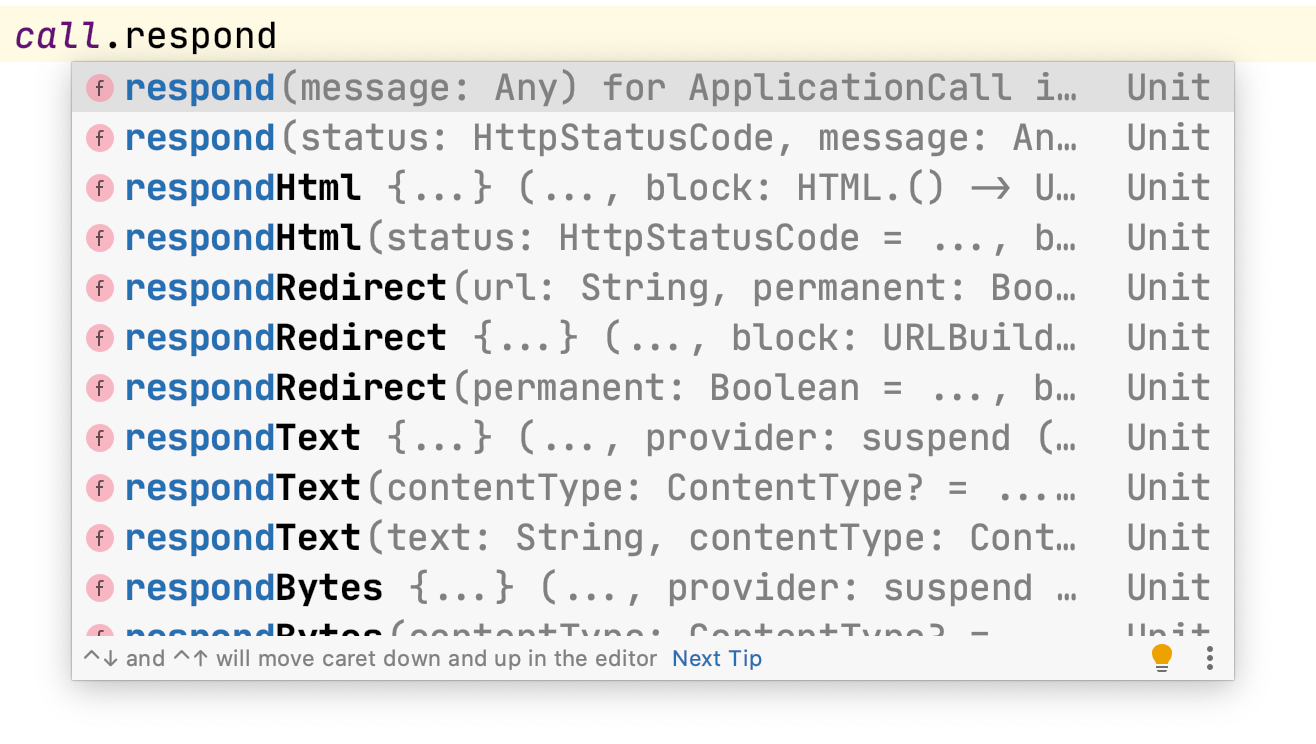
To show the user that the submission was successful, we still want to send back a bit of HTML. We could re-use our knowledge and create a FreeMarker template for this "Success" page as well – but to cover some more Ktor functionality, we will try an alternative approach instead. When we autocomplete on the call object, we can see that Ktor allows us to respond to requests using a variety of functions:

Amongst these is call.respondHtml. This function allows us to craft our HTML response using Kotlin syntax, thanks to Ktor's integration with kotlinx.html (a DSL designed for seamlessly combining Kotlin code and HTML-like tags).
At the bottom of the post("/submit") handler block, let's add the following code:
Notice how this code combines Kotlin-specific logic (like counting the entries, or using string interpolation) with HTML-like syntax!
To test the route, let's re-run our application, navigate to http://localhost:8080/, and submit a new entry. If everything has gone according to play, we'll now see the HTML page, courtesy of kotlinx.html!

We're done!
It's time to pat ourselves on the back – we've put together a nice little journal application, and have learned about many topics in the meantime. From static files to templating, from basic routing to kotlinx.html, we've covered a lot of ground.

This concludes the guided part of this hands-on. We have included the final state of the journal application in the GitHub repository on the final branch. But of course, your journey doesn't have to stop here. Check out the What's next section to get an idea of how you could expand the application, and where to go if you need help in your endeavors!
What's next
At this point, you should have gotten a basic idea of how to serve static files with Ktor and how the integration of plugins such as FreeMarker or kotlinx.html can enable you to write basic applications that can even react to user input.
Feature requests for the journal
At this point, our journal application is still rather barebones, so of course it might be a fun challenge to add more features to the project, and learn even more about building interactive sites with Kotlin and Ktor. To get you started, here's a few ideas of how the application could still be improved, in no particular order:
Make it consistent! You would usually not mix FreeMarker and kotlinx.html – we've taken some liberty here to explore more than one way of structuring your application. Consider powering your whole journal with kotlinx.html or FreeMarker, and make it consistent!
Authentication! Our current version of the journal allows all visitors to post content to our journal. We could use Ktor's authentication plugins to ensure that only select users can post to the journal, while keeping read access open to everyone.
Persistence! Currently, all our journal entries vanish when we stop our application, as we are only storing them in a variable. You could try integrating your application with a database like PostgreSQL or MongoDB, using one of the plenty projects that allow database access from Kotlin, like Exposed or KMongo.
Make it look nicer! The stylesheets for the journal are currently rudimentary at best. Consider creating your own style sheet, and serving it as a static
.cssfile from Ktor!Organize your routes! As the complexity of our application increases, so does the number of routes we try to support. For bigger applications, we usually want to add structure to our routing – like separating routes out into separate files. If you'd like to learn about different ways to organize your routes with Ktor, check out the Routing help topic.
Learning more about Ktor
On this page, you will find a set of hands-on tutorials that also focus more on specific parts of Ktor. For in-depth information about the framework, including further demo projects, check out ktor.io.
Community, help and troubleshooting
To find more information about Ktor, check out the official website. If you run into trouble, check out the Ktor issue tracker – and if you can't find your problem, don't hesitate to file a new issue.
You can also join the official Kotlin Slack. We have channels for #ktor and more available, and a helpful community that supports each other for Kotlin related problems.