Create a client application
Ktor includes a multiplatform asynchronous HTTP client, which allows you to make requests and handle responses, extend its functionality with plugins, such as authentication, JSON serialization, and more.
In this tutorial, we'll show you how to create your first Ktor client application that sends a request and prints out a response.
Prerequisites
Before starting this tutorial, install IntelliJ IDEA Community or Ultimate.
Create a new project
You can create and configure a Ktor Client manually in an existing project, however a convenient way to start from scratch is by generating a new project using the bundled Kotlin plugin for IntelliJ IDEA.
To create a new Kotlin project, open IntelliJ IDEA and follow the steps below:
On the Welcome screen, click New Project.
Otherwise, from the main menu, select .
In the New Project wizard, choose Kotlin from the list on the left.
On the right pane, specify the following settings:
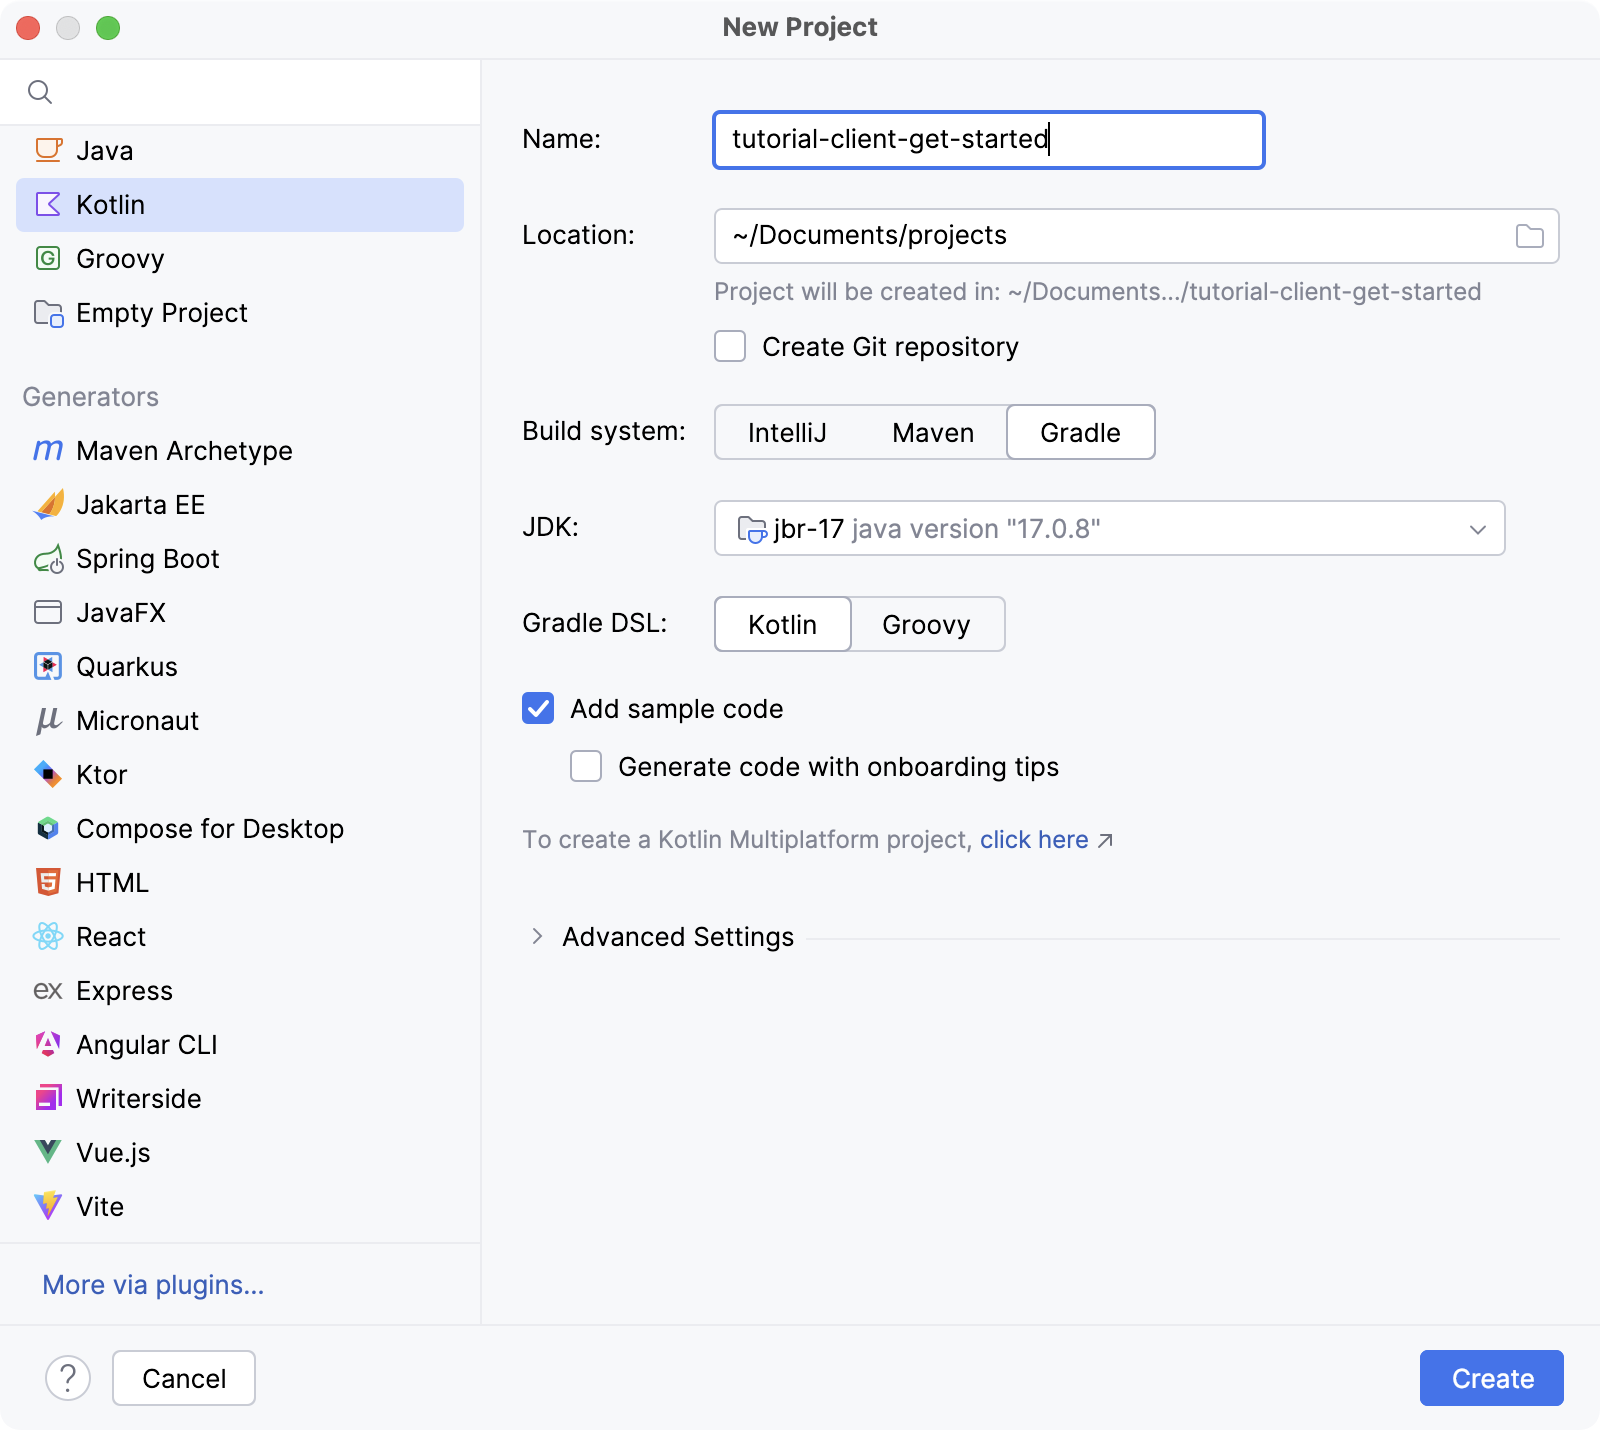
Name: Specify a project name.
Location: Specify a directory for your project.
Build system: Make sure that Gradle is selected.
Gradle DSL: Choose Kotlin.
Add sample code: Select this option to include sample code in the generated project.
Click Create and wait until IntelliJ IDEA generates a project and installs the dependencies.
Add dependencies
Let's add dependencies required for a Ktor client.
Open the gradle.properties file and add the following line to specify the Ktor version:
ktor_version=3.4.0Open the build.gradle.kts file and add the following artifacts to the dependencies block:
val ktor_version: String by project dependencies { implementation("io.ktor:ktor-client-core:$ktor_version") implementation("io.ktor:ktor-client-cio:$ktor_version") }ktor-client-coreis a core dependency that provides the main client functionality,ktor-client-ciois a dependency for an engine processing network requests.
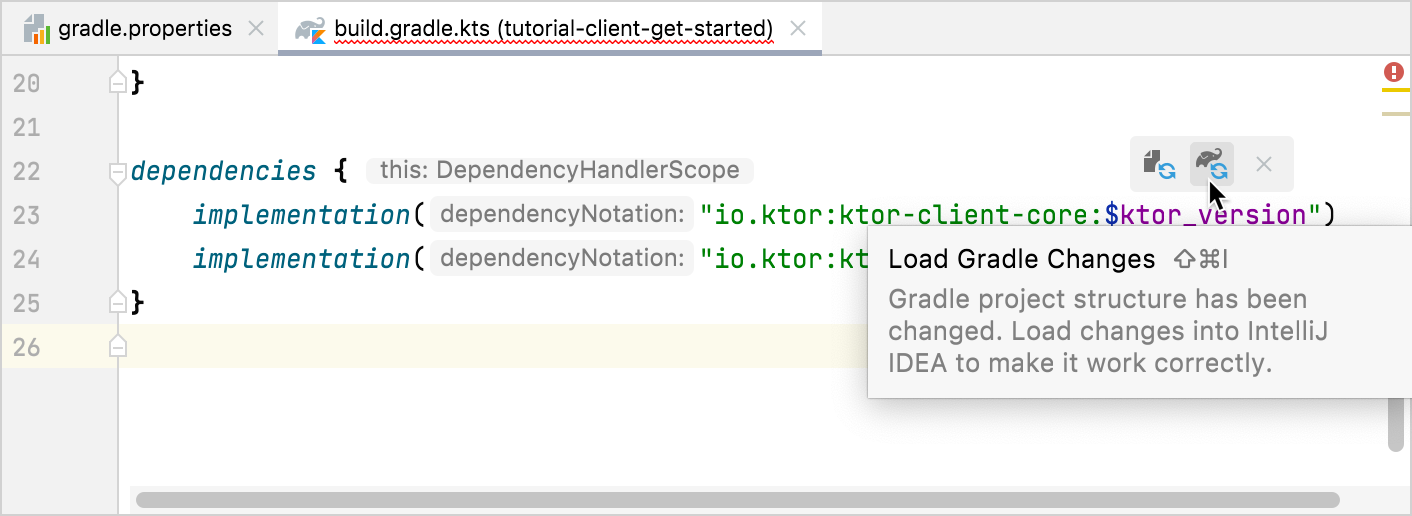
Click the Load Gradle Changes icon in the top right corner of the build.gradle.kts file to install the newly added dependencies.
Create a client
To add the client implementation, navigate to src/main/kotlin and follow the steps below:
Open the Main.kt file and replace the existing code with the following implementation:
import io.ktor.client.* import io.ktor.client.engine.cio.* fun main() { val client = HttpClient(CIO) }In Ktor, a client is represented by the HttpClient class.
Use the
HttpClient.get()method to make a GET request. A response will be received as aHttpResponseclass object.import io.ktor.client.* import io.ktor.client.engine.cio.* import io.ktor.client.request.* import io.ktor.client.statement.* fun main() { val client = HttpClient(CIO) val response: HttpResponse = client.get("https://ktor.io/") }After adding the code above, the IDE shows the following error for the
get()function: Suspend function 'get' should be called only from a coroutine or another suspend function.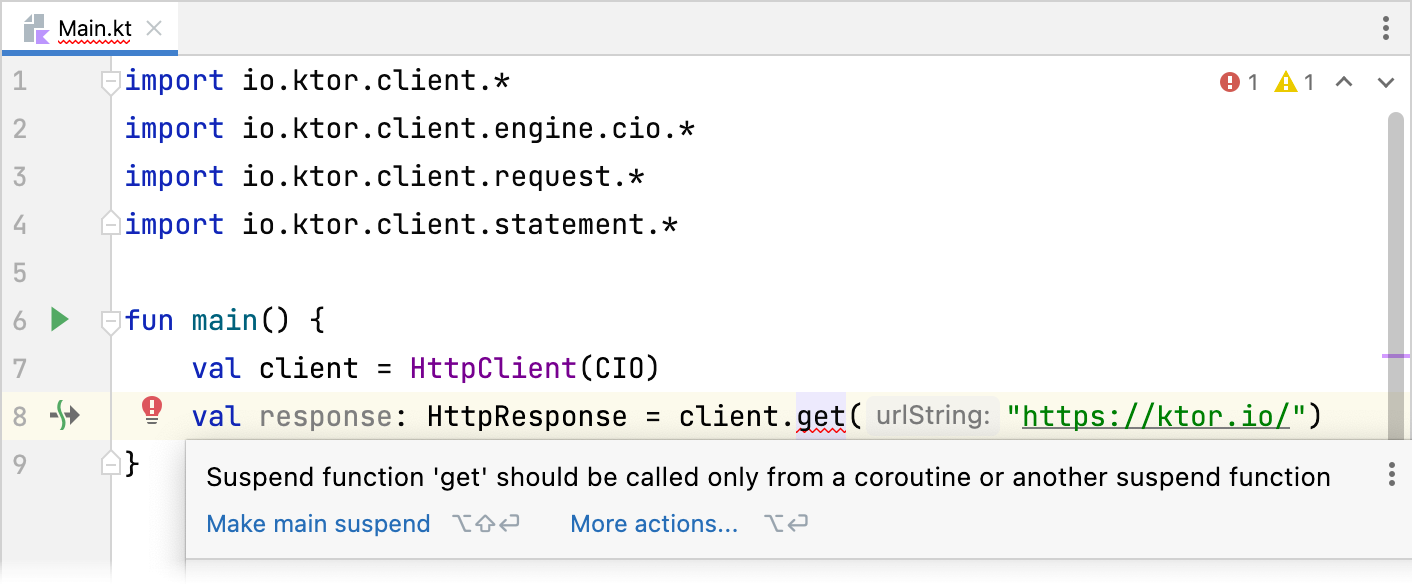
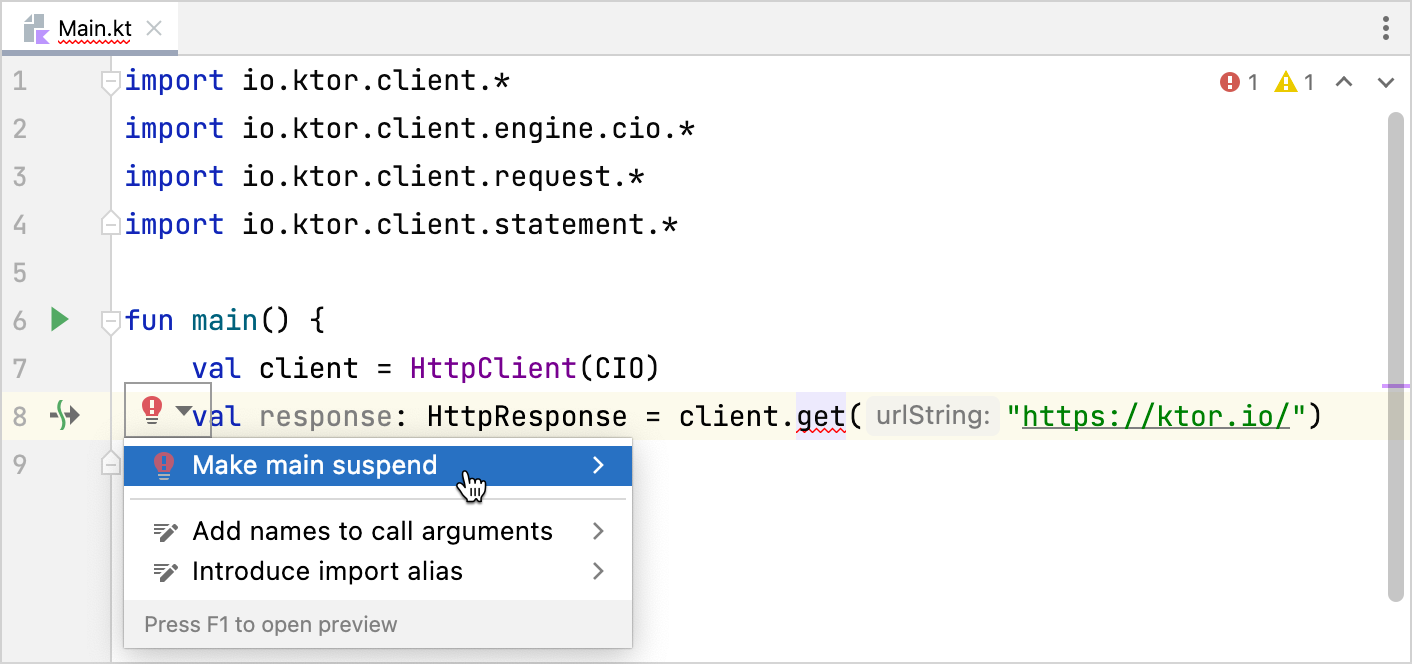
To fix this, you need to make the
main()function suspending.In IntelliJ IDEA, click the red bulb next to the definition and choose Make main suspend.
Use the
println()function to print a status code returned by the server and theclose()function to close the stream and release any resources associated with it. The Main.kt file should look in the following way:import io.ktor.client.* import io.ktor.client.engine.cio.* import io.ktor.client.request.* import io.ktor.client.statement.* suspend fun main() { val client = HttpClient(CIO) val response: HttpResponse = client.get("https://ktor.io/") println(response.status) client.close() }
Run your application
To run your application, navigate to the Main.kt file and follow the steps below:
In IntelliJ IDEA, click the gutter icon next to the
main()function and choose Run 'MainKt'.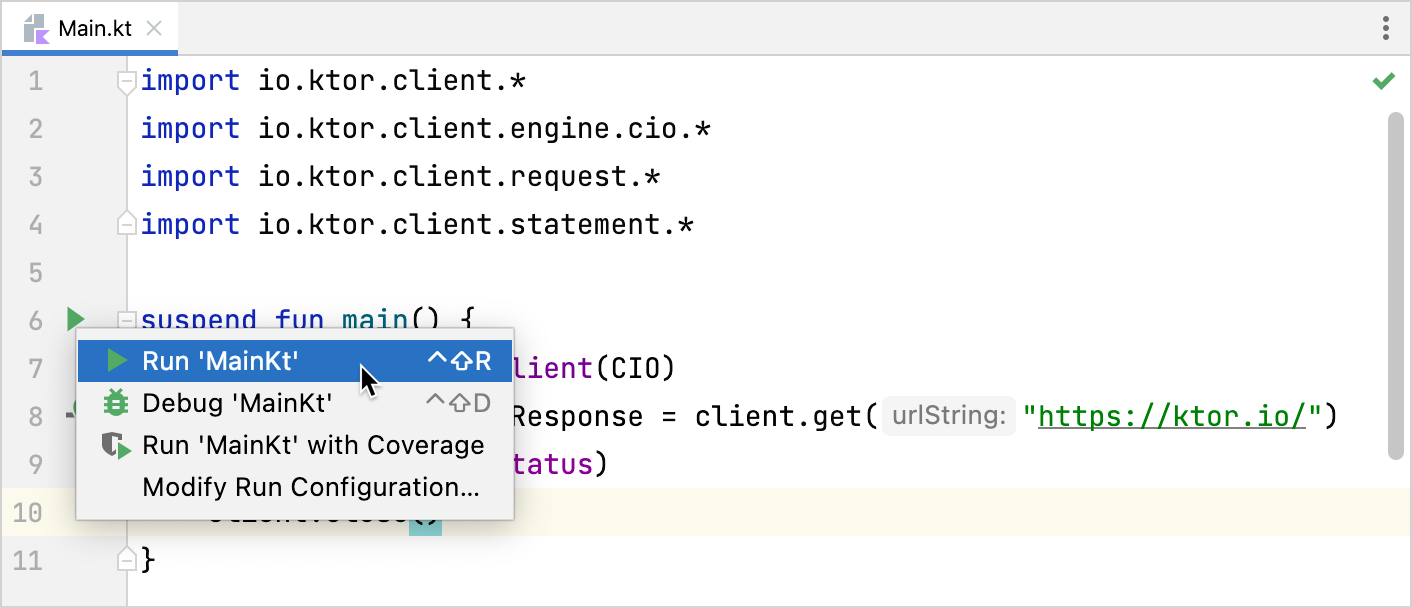
Wait until Intellij IDEA runs the application.
You will see the output displayed in the Run pane on the bottom of the IDE.

Although the server responds with the
200 OKmessage, you will also see an error message indicating that SLF4J failed to locate theStaticLoggerBinderclass, defaulting to a no-operation (NOP) logger implementation. This effectively means that logging is disabled.You now have a working client application. However, to fix this warning and be able to debug HTTP calls with logging, an additional step is required.
Enable logging
Because Ktor uses the SLF4J abstraction layer for logging on JVM, to enable logging, you need to provide a logging framework, such as Logback.
In the gradle.properties file, specify the version for the logging framework:
logback_version=1.5.6Open the build.gradle.kts file and add the following artifact to the dependencies block:
//... val logback_version: String by project dependencies { //... implementation("ch.qos.logback:logback-classic:$logback_version") }Click the Load Gradle Changes icon to install the newly added dependency.
In IntelliJ IDEA, click the rerun button (
) to restart the application.
You should no longer see the error, but the same
200 OKmessage will be displayed in the Run pane on the bottom of the IDE.
With this, you have enabled logging. To start seeing logs, you need to add logging configuration.
Navigate to src/main/resources and create a new logback.xml file with the following implementation:
<configuration> <appender name="APPENDER" class="ch.qos.logback.core.ConsoleAppender"> <encoder> <pattern>%d{YYYY-MM-dd HH:mm:ss.SSS} [%thread] %-5level %logger{36} - %msg%n</pattern> </encoder> </appender> <root level="trace"> <appender-ref ref="APPENDER"/> </root> </configuration>In IntelliJ IDEA, click the rerun button (
) to restart the application.
You should now be able to see trace logs above the printed response within the Run pane:

Next steps
To better understand and extend this configuration, explore how to create and configure a Ktor client.